Recently I migrated my MacBook Pro into a Proxmox virtual machine to use as my daily-driver. This made for a rather large stepdown in IO performance, since my MacBook used an SSD, and Proxmox was using a RAIDZ1 array of spinning disks. On top of the IOPS penalty for spinning disks, there are currently no macOS drivers for the virtio SCSI paravirtual device, so we have to use IDE/SATA emulation instead, which is very slow (although this may change in the near future).
One way to improve things would be to use PCIe passthrough to pass through a whole physical SATA controller to the guest. This would eliminate almost all of the performance penalty of the virtualised SATA controller. But there’s a new option for drive passthrough: NVMe SSDs.
NVMe is a new standard for operating systems to communicate with a disk controller, which has been specifically designed to extract the most speed possible from SSDs. NVMe SSDs are PCIe devices (typically x4), so we can pass them straight through to macOS. I’m using the Samsung 950 Pro. You might also consider the faster 960 Pro.
The only missing piece of the puzzle is NVMe support in macOS Sierra. Thankfully, modern macs have begun shipping with NVMe SSDs inside, so we have an official Apple driver we can use. It just needs to be patched to accept our SSDs.
My previous Proxmox post described how to install Sierra into Proxmox using the Enoch bootloader (SeaBIOS boot). Since then, I’ve been using it as my daily-use desktop, and it has generally been working out great for me. However, I had some real struggles getting the graphics card passthrough to work reliably. I managed to fix these by updating to UEFI boot with Clover.
One of the problems with legacy BIOS boot and GPU passthrough is VGA arbitration. From what I understand, the video cards in the host and guest can end up both contending to own the VGA resources, which can cause a deadlock on boot. When a Sierra guest loads its video driver during boot, my Proxmox host hangs, and the screen fills with black and white bars.
UEFI boot doesn’t suffer from this problem, since it does away with the legacy VGA interface. So if your video card’s firmware supports UEFI/EFI boot (my R9 280X already does), you can switch the guest to boot using OVMF instead. This requires us to use a macOS bootloader that supports UEFI. I chose Clover. Continue reading Using Clover UEFI boot with Sierra on Proxmox
I’m migrating from FreeNAS to Proxmox 4.3. On FreeNAS, there was a built-in plugin for CrashPlan support, which I was using to back up the files that FreeNAS was serving from ZFS over the network. However, keeping this plugin running was a chore, with forced automatic CrashPlan updates frequently breaking it and requiring manual intervention to fix, and headless operation requiring an unsupported, tedious procedure to achieve, with lots of opportunities for getting it wrong.
On top of this, CrashPlan doesn’t actually support FreeBSD, and instead relies on the Linux emulation that the FreeNAS jail system provides, which puts the plugin at risk of being broken by CrashPlan relying on unsupported Linux kernel features.
I’ll assume you already have Proxmox 4.4 installed. You also need a real Mac available in order to download Sierra from the App Store and build the installation ISO. Your host computer must have an Intel CPU at least as new as Penryn. I think you may need a custom Mac kernel to use an AMD CPU.
These installation instructions have been tested with Sierra 10.12.4. Although it’s been a while since I performed a fresh install, I’m currently running Sierra 10.12.6 on Proxmox 5 using a VM built with these instructions.
First step: Create an installation ISO
On a Mac machine, download the macOS Sierra installer from the App Store (this will download it into your Applications folder).
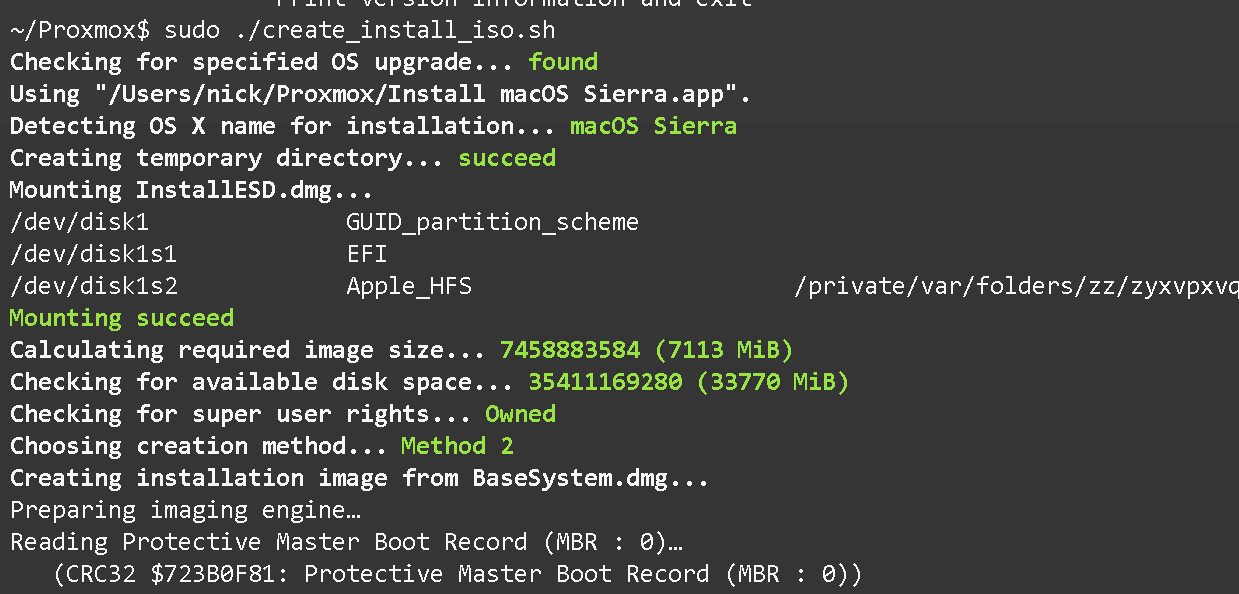
From inside that directory, run “sudo ./create_install_iso.sh” to create the install CD for you:
Once that’s done, connect to your Proxmox server using Transmit (or some other SCP/SFTP client) and upload the ISO you created to /var/lib/vz/template/iso.
While you’re there, upload the enoch_rev2902_boot bootloader file from the GitHub repository to /var/lib/vz/template/qemu/enoch_rev2902_boot.
Fetch the OSK authentication key
macOS checks that it is running on real Mac hardware, and refuses to boot on third-party hardware. You can get around this by reading an authentication key out of your real Mac hardware (the OSK key). Run the first bit of C code from this page (you’ll need XCode installed) and it’ll print out the 64 character OSK for you. Make a note of it.
Create the VM
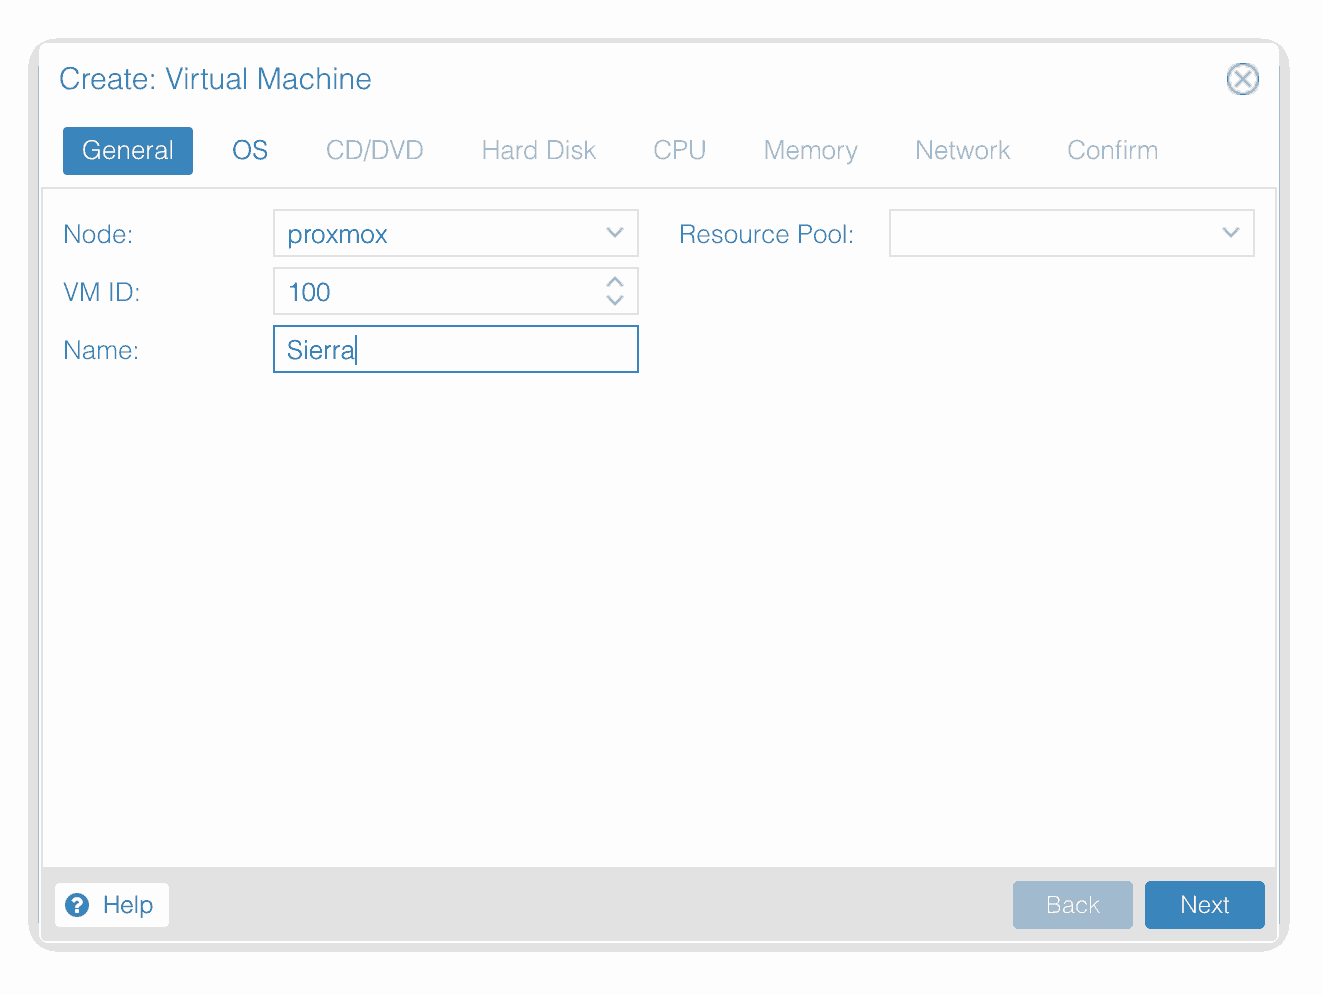
From the Proxmox web UI, create a new virtual machine as shown below.
Keep a note of your VM’s ID
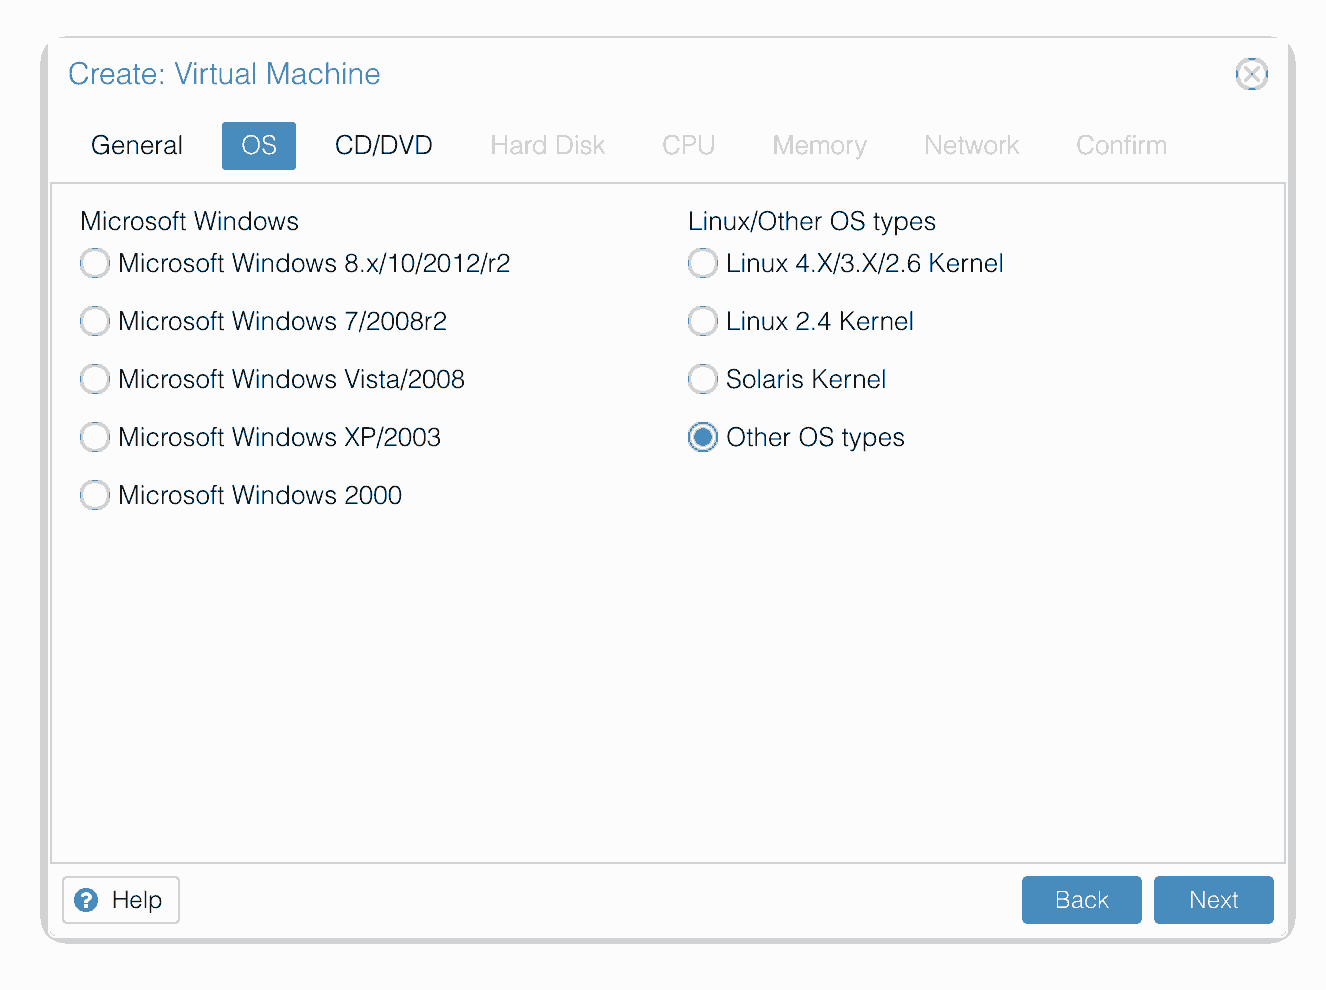
Set the OS type to “Other”
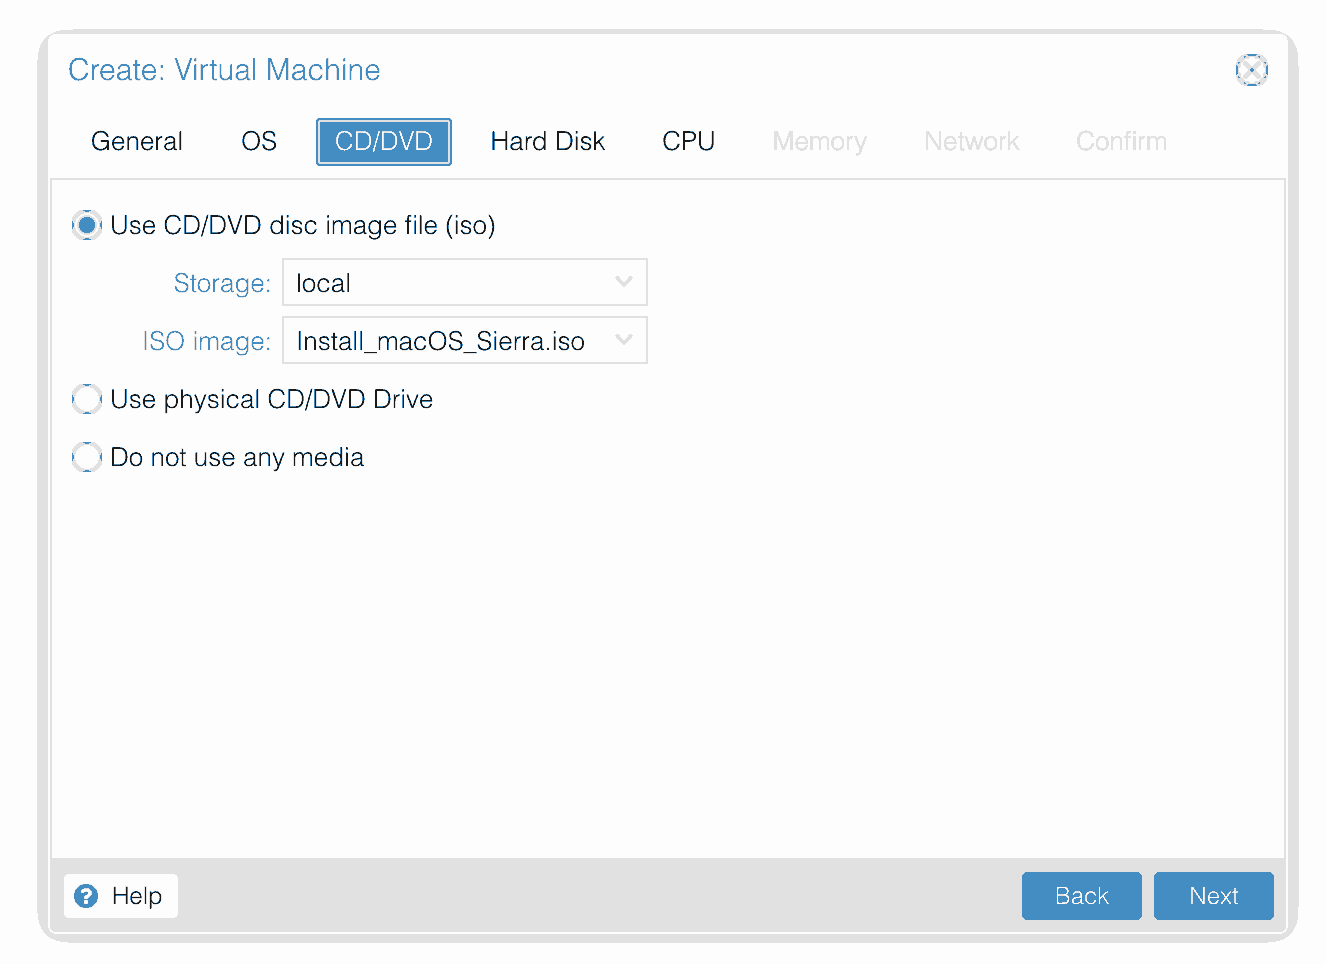
Select the ISO you uploaded on the CD/DVD page
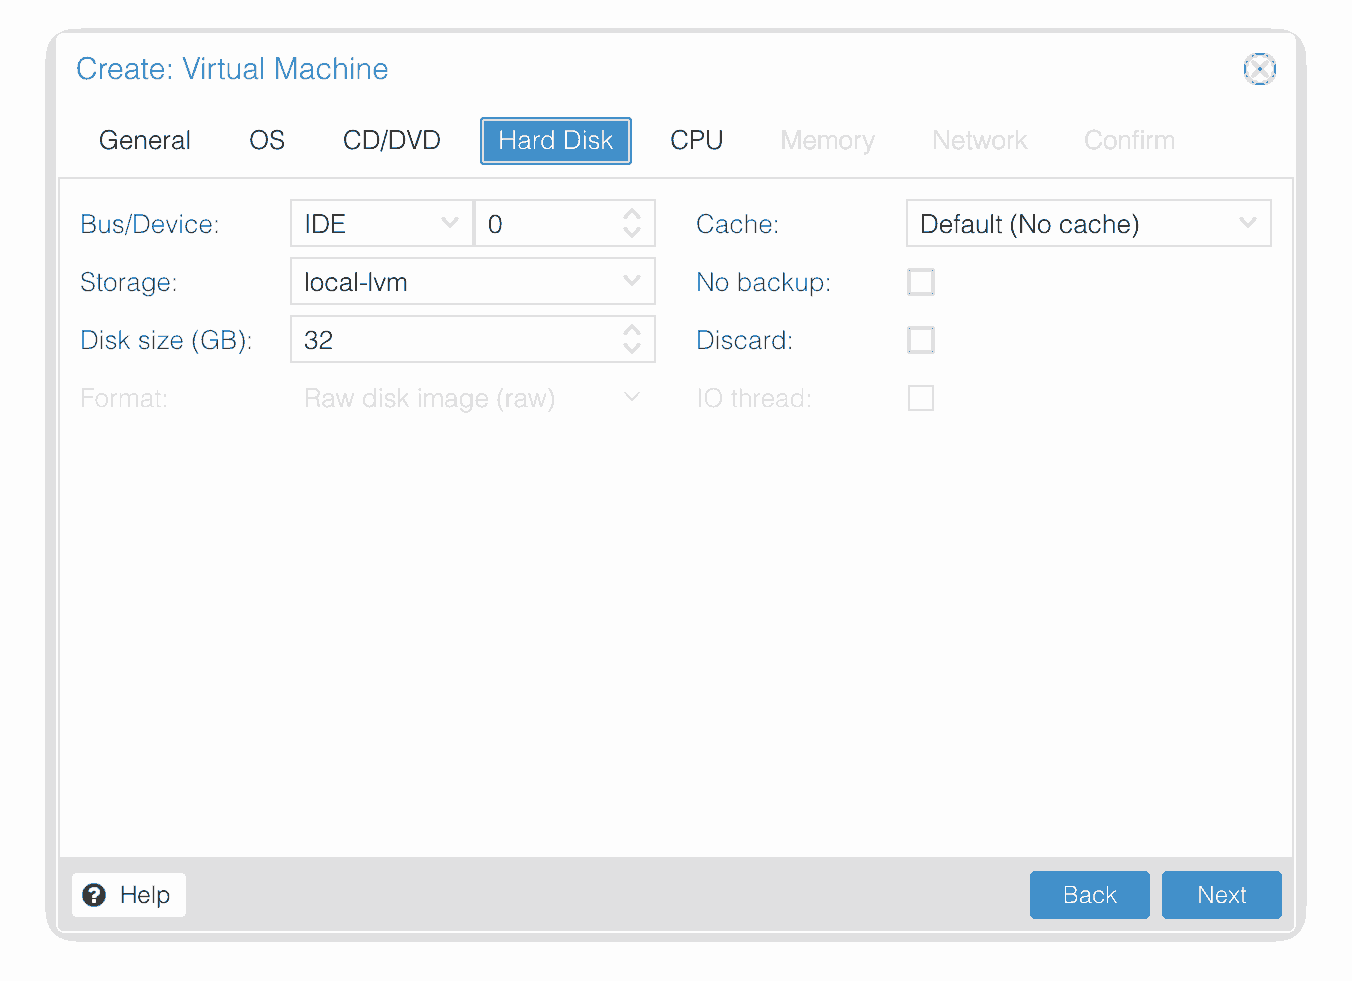
Set the size of the hard disk you want to add (I chose 32GB)
Set the appropriate number of cores and sockets for your CPU (I went with one socket and four cores), and set the CPU type to Penryn.
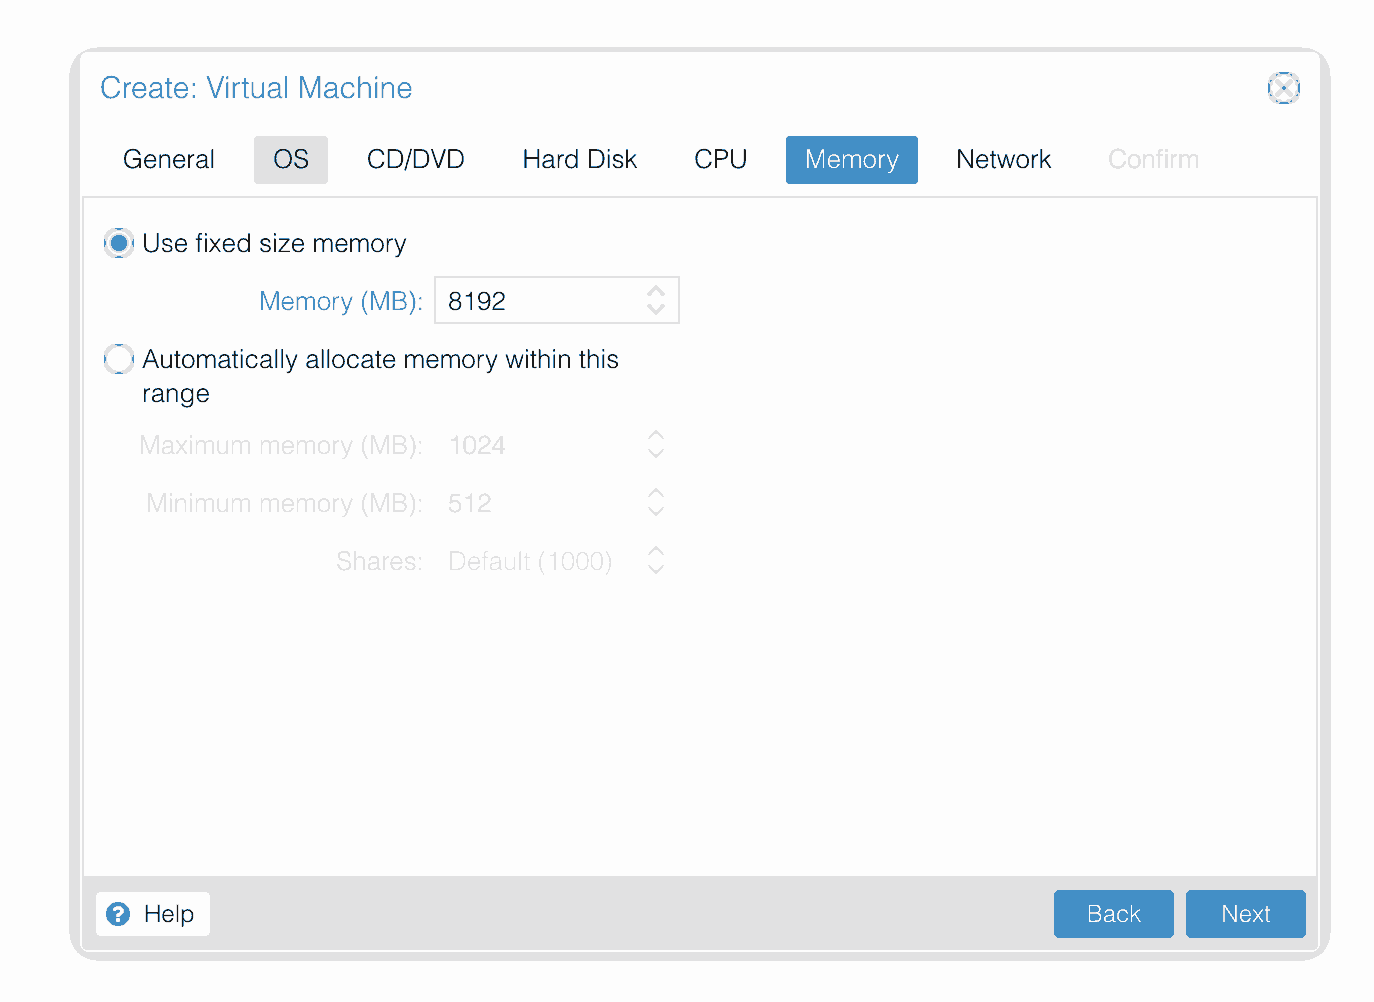
I chose a fixed size memory of 8192MB. I’m unsure if variable memory works on macOS.
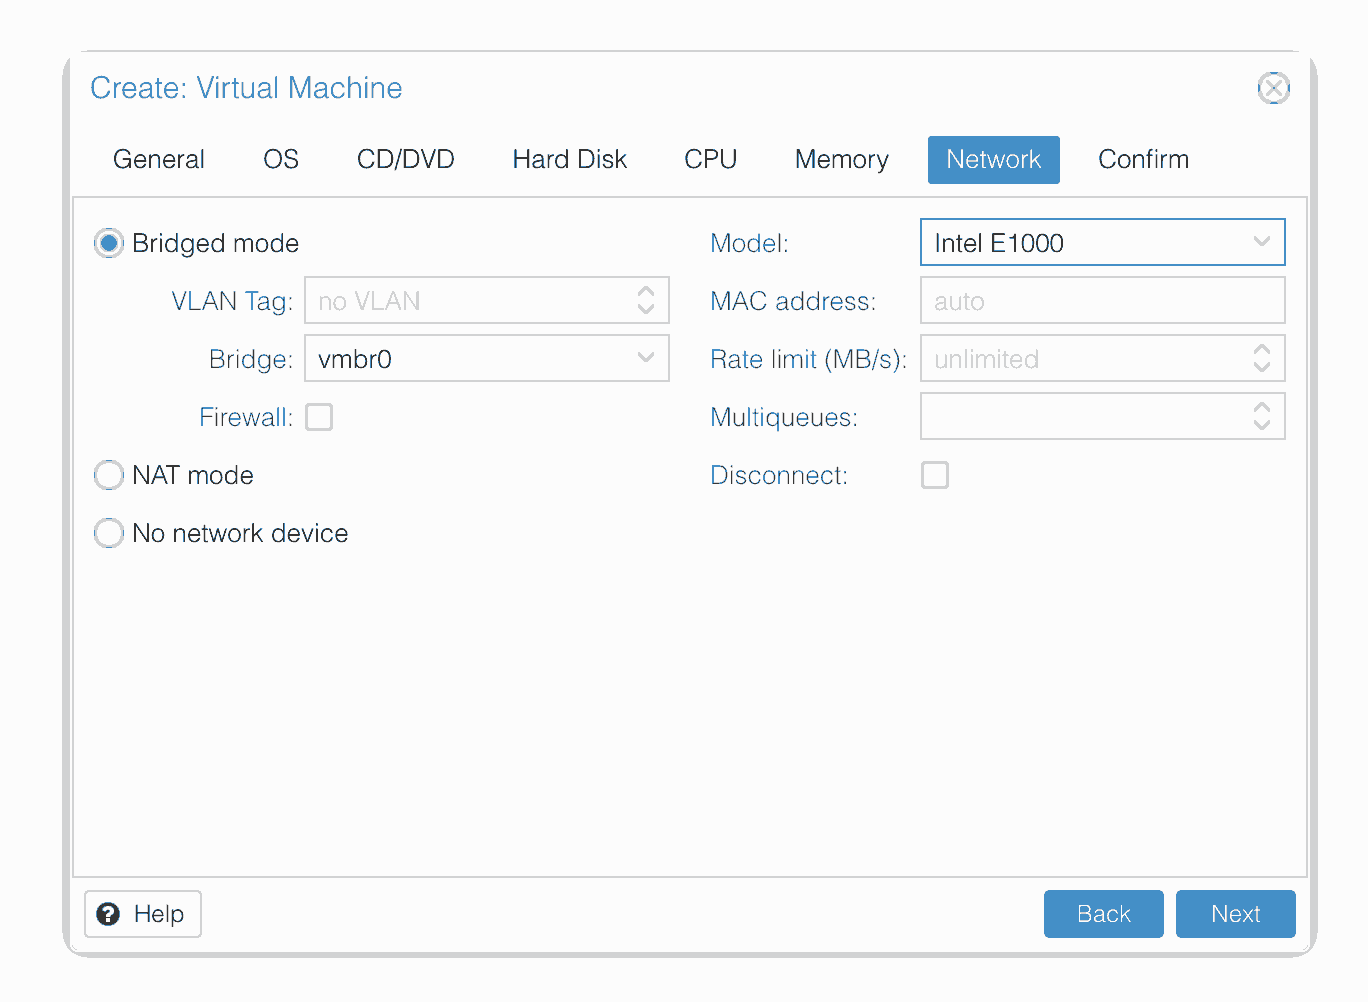
Choose e1000 for the network model
In the Options page for the VM, change “Use tablet for pointer” to “No”.
In the Hardware page for the VM, change the the Display to Standard VGA (std).
Don’t try to start the VM just yet. First, SSH into your Proxmox server so we can make some edits to the configuration files.
Edit /etc/pve/qemu-server/YOUR-VM-ID-HERE.conf (with nano or vim). Add these two lines, being sure to subtitute the OSK you extracted earlier into the right place:
Find the line that specifies the ISO file, and remove the “,media=cdrom” part from the end of the line (otherwise you’ll get stuck at the bootloader).
On the net0 line, change “e1000” to “e1000-82545em”. This variant is supported by OS X.
macOS doesn’t support the PS2 keyboard and mouse that QEMU will emulate, nor does it support the tablet, so edit /usr/share/qemu-server/pve-q35.cfg and add these USB input devices to the bottom of the file instead:
[device "mouse1"]
 driver = "usb-mouse"
 bus = "ehci.0"
 port = "1"

[device "keyboard1"]
 driver = "usb-kbd"
 bus = "ehci.0"
 port = "2"
We’ve added those to the config file instead of to the VM’s args directly. If we were to add them to the VM’s args, then when Proxmox constructs its call to KVM to launch the VM, those device definitions would appear before the pve-q35.cfg file is included, which defines the USB busses. However, the device definitions must appear after the definitions of the USB bus that they refer to.
Note that this file is whitespace-sensitive, make you you don’t add any blank lines that have extraneous spaces on them.
Configure Proxmox
On Proxmox, run “echo 1 > /sys/module/kvm/parameters/ignore_msrs” to avoid a bootloop during macOS boot. To make this change persist across Proxmox reboots, run:
echo "options kvm ignore_msrs=Y" >>/etc/modprobe.d/kvm.conf && update-initramfs -k all -u
If you get an error “file system may not support O_DIRECT / Could not open iso: invalid argument” when starting the VM, you may need to edit the CD drive on the hardware tab and change its cache setting to “writeback (unsafe)”.
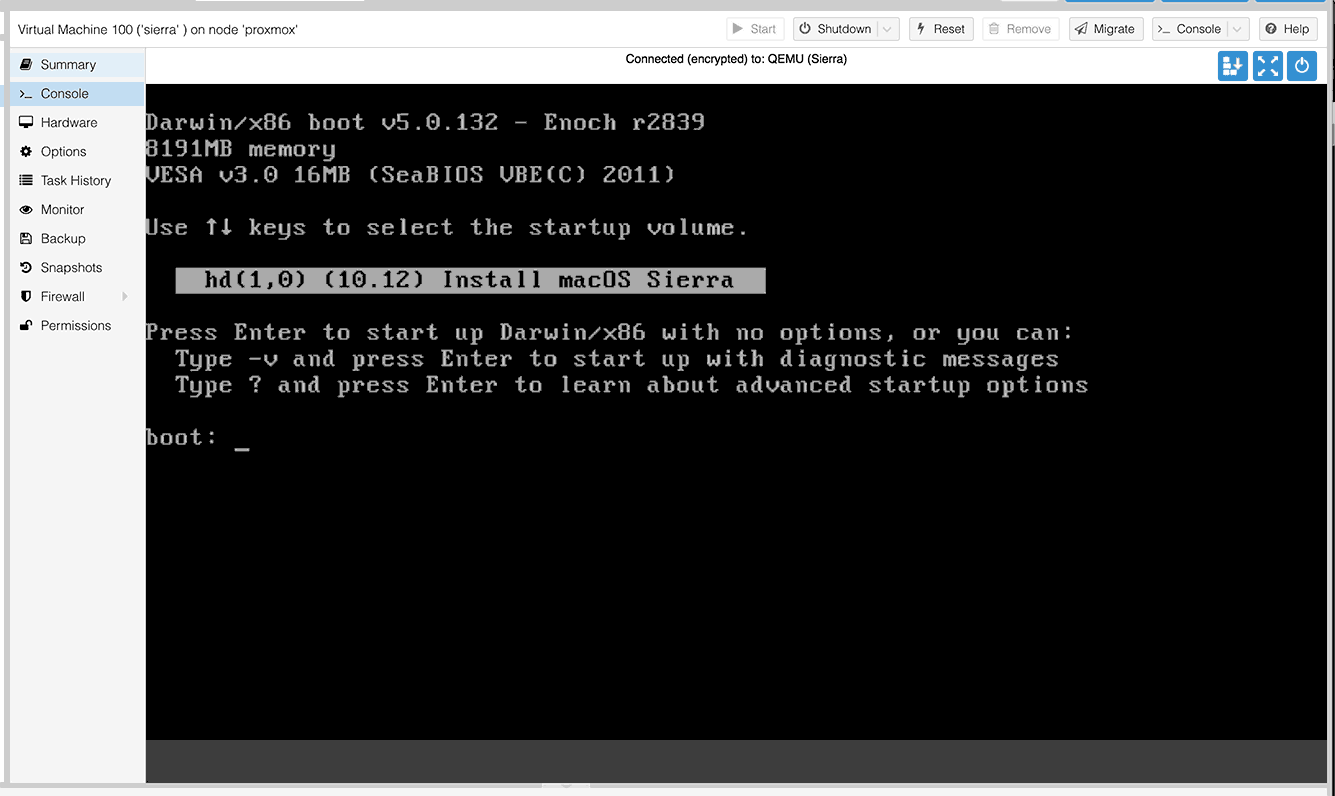
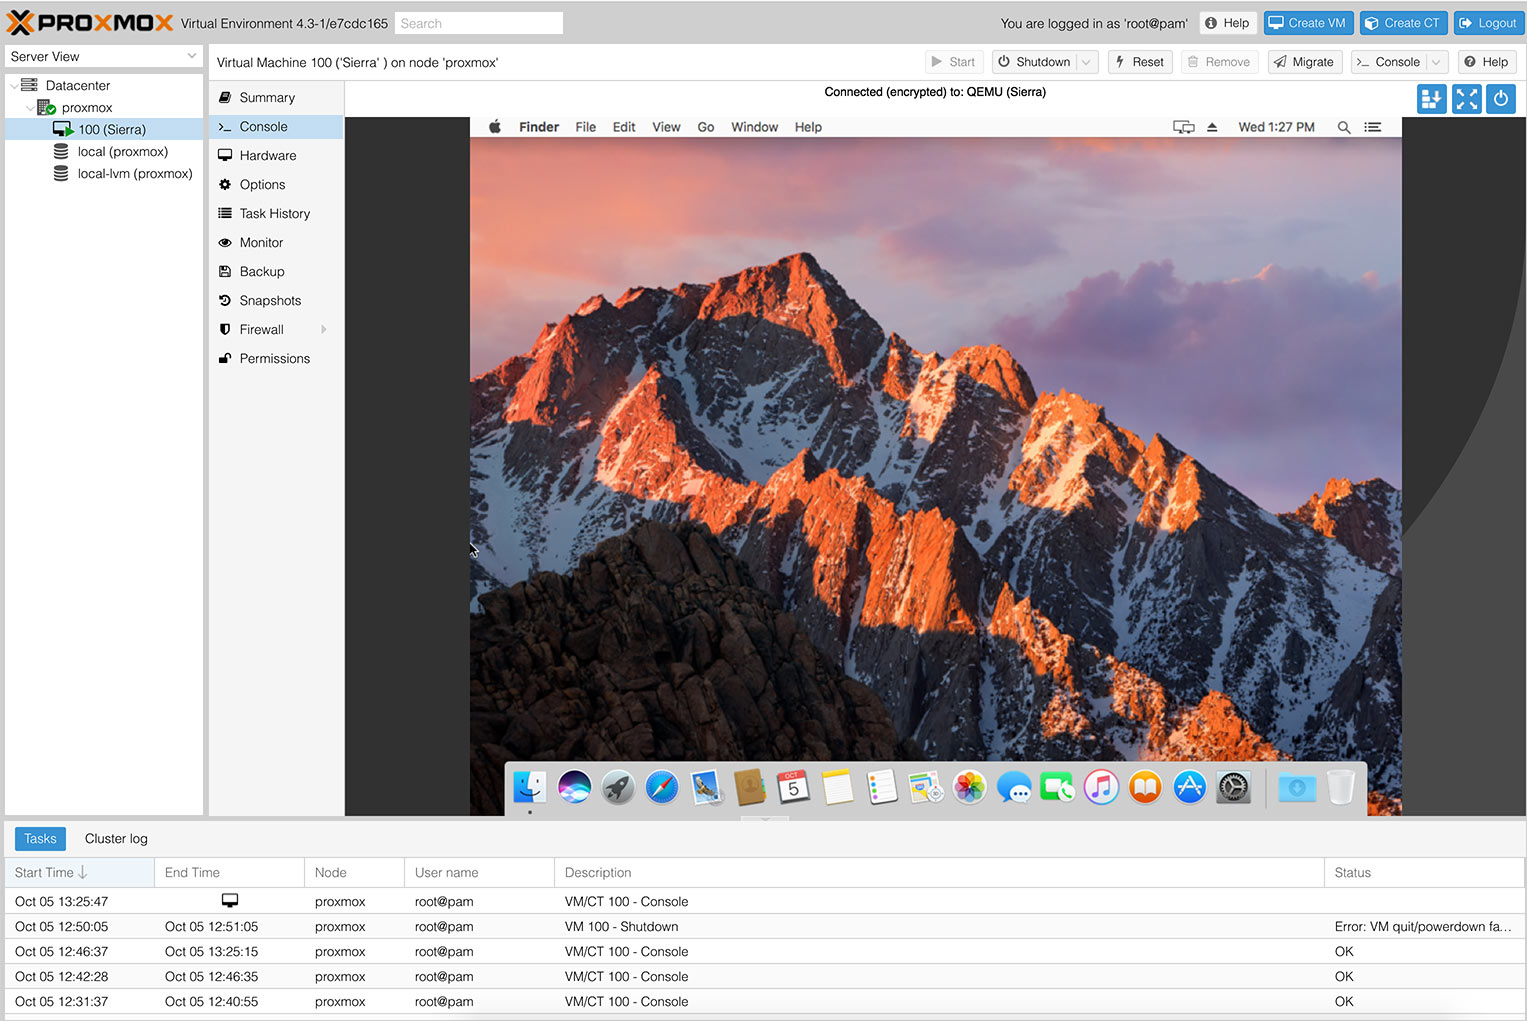
Go to the Console tab:
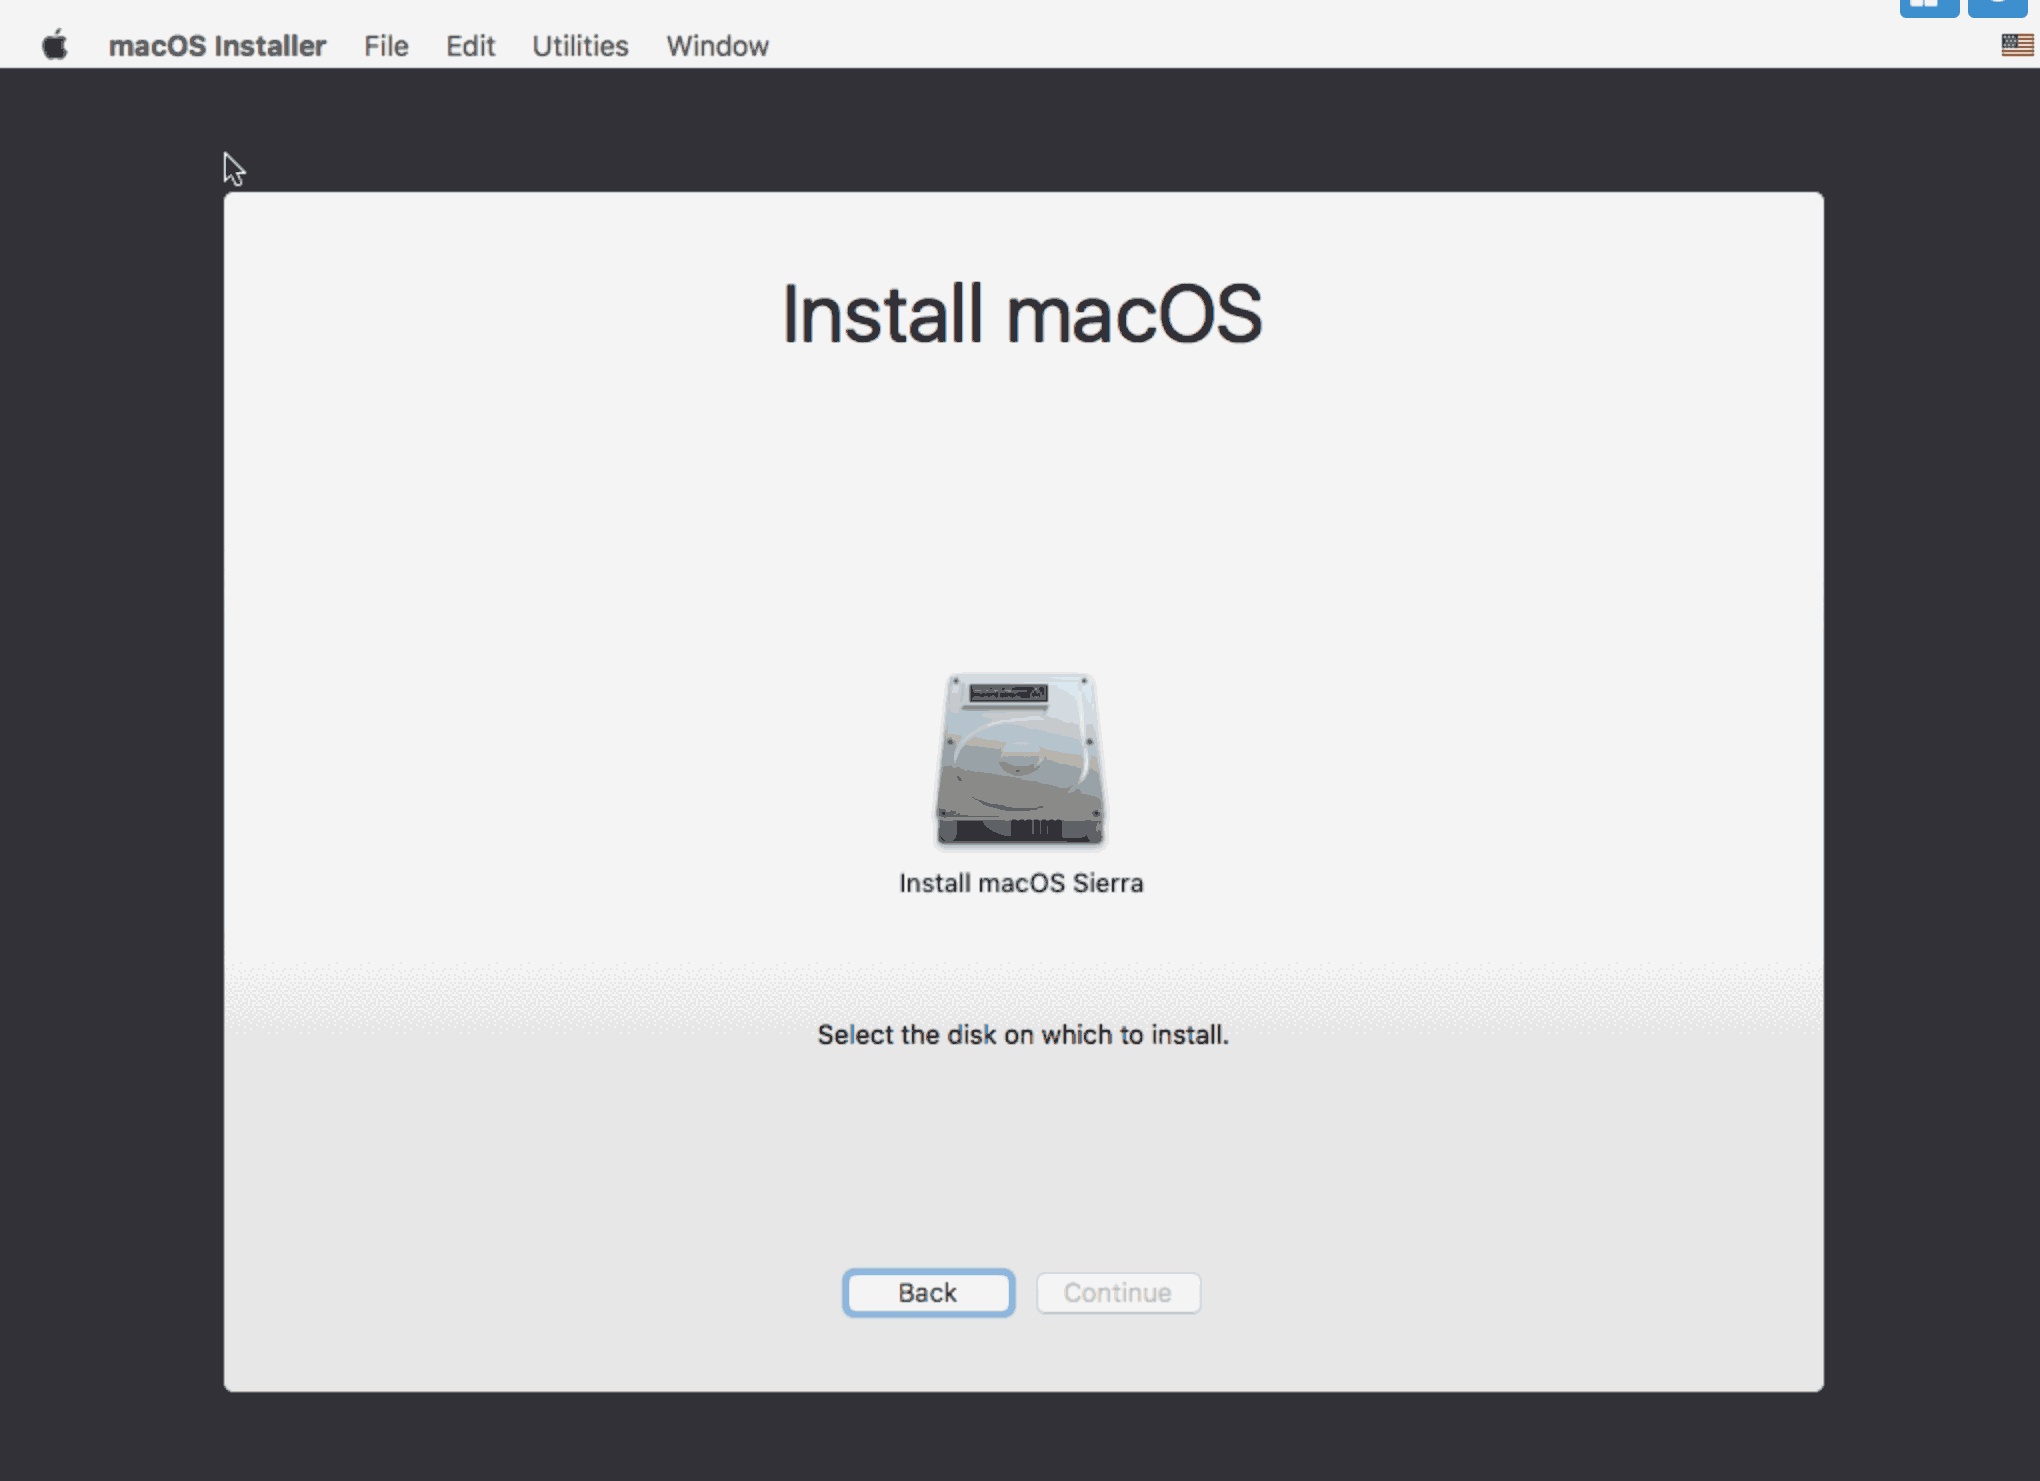
Press enter to choose the “install macOS Sierra” entry and the installer should boot up.
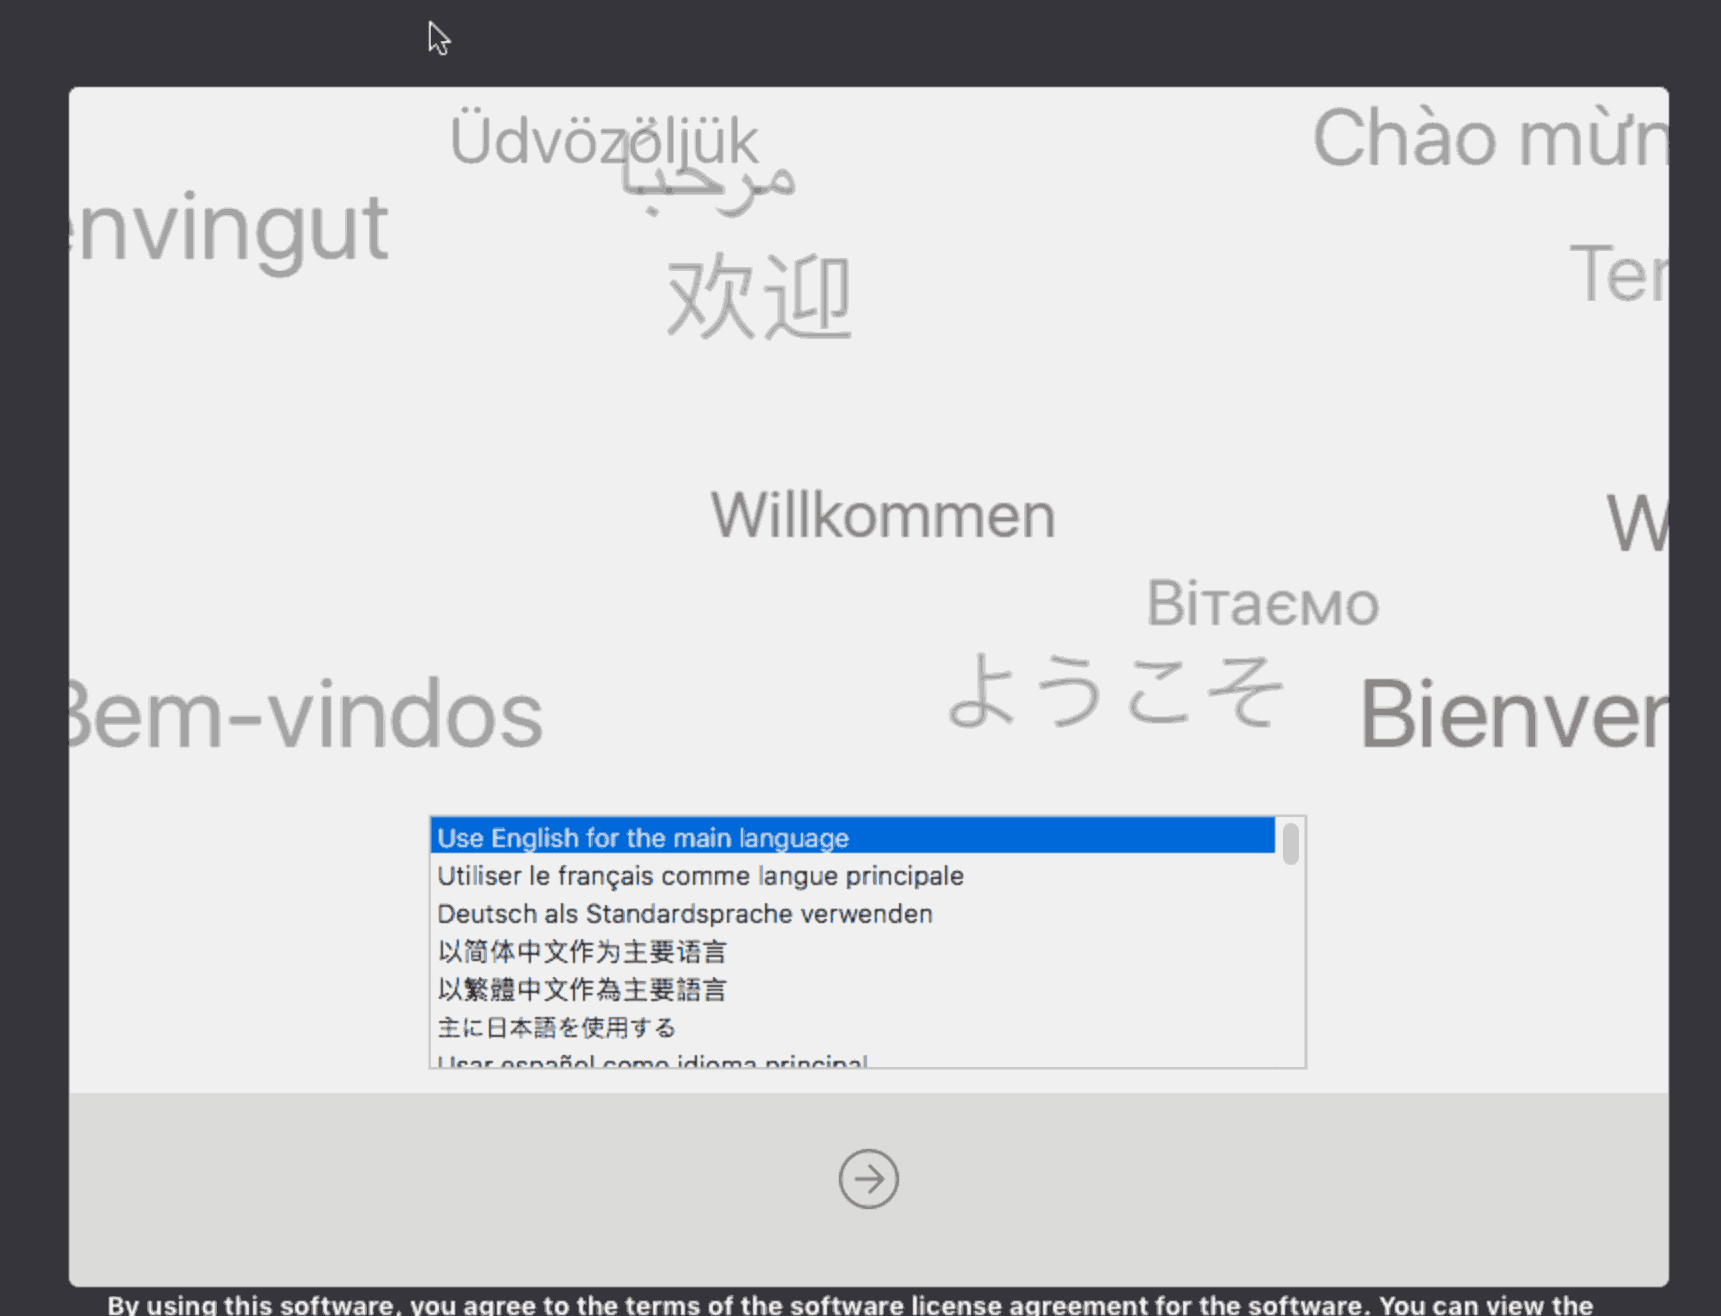
If you are unable to move the mouse cursor at the Welcome screen, and a beachball-of-doom appears on the host, you might be using Safari. It seems to get overwhelmed with the number of screen updates on the animated Welcome screen and become unresponsive. Try Chrome instead.
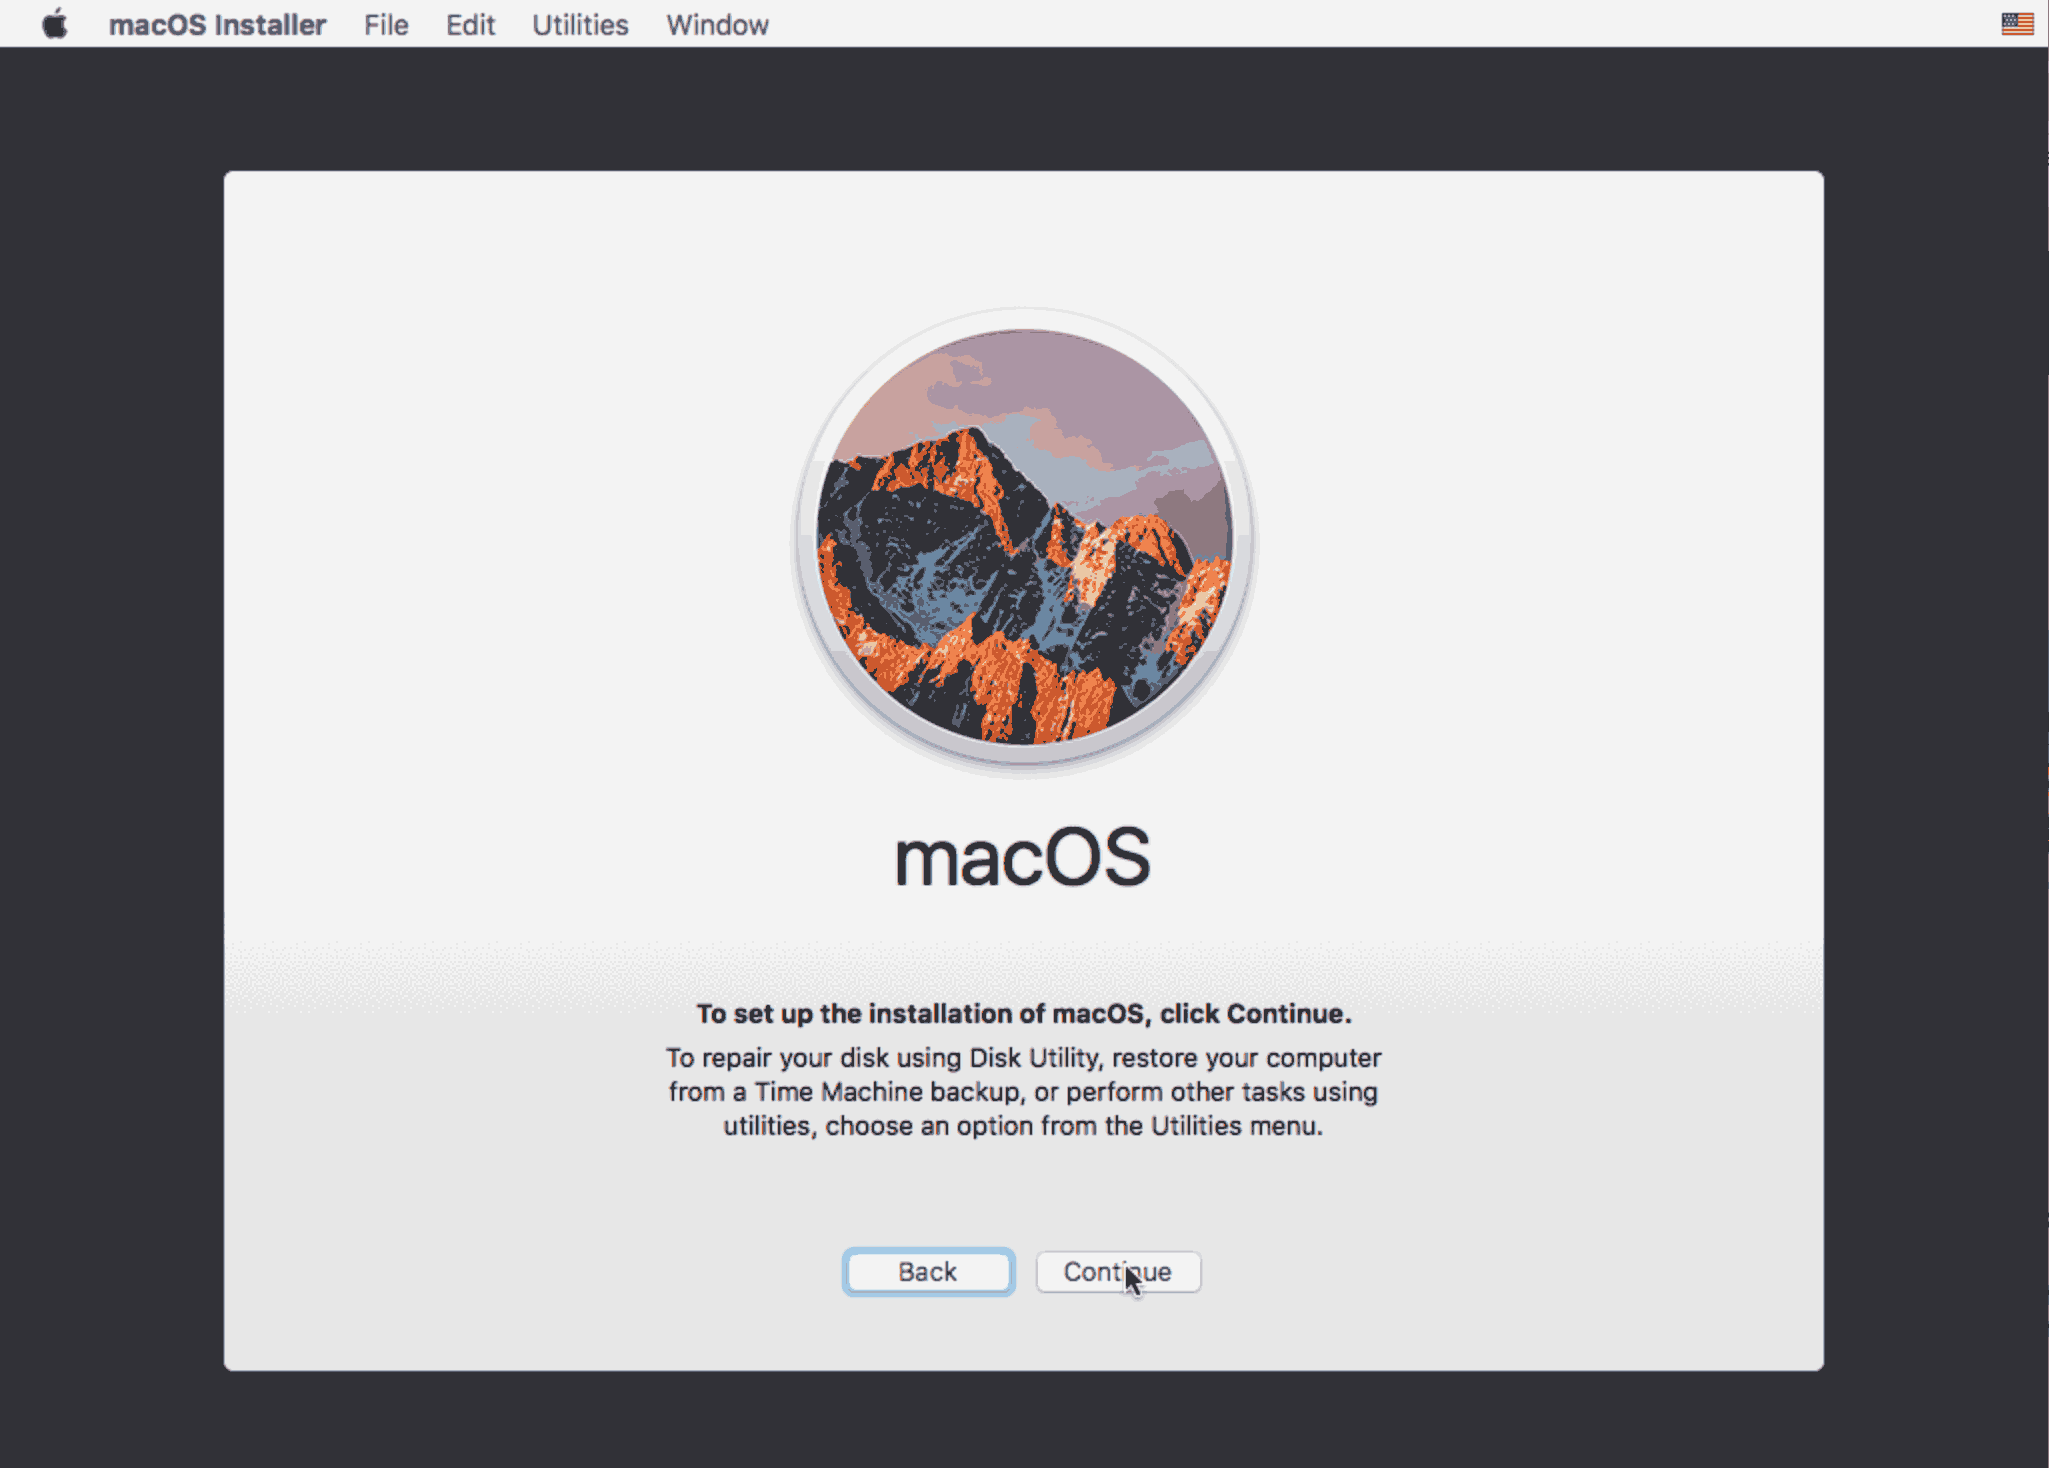
Our virtual hard drive needs to be erased/formatted before we can install to it, so go to Utilities -> Disk Utility and do that now:
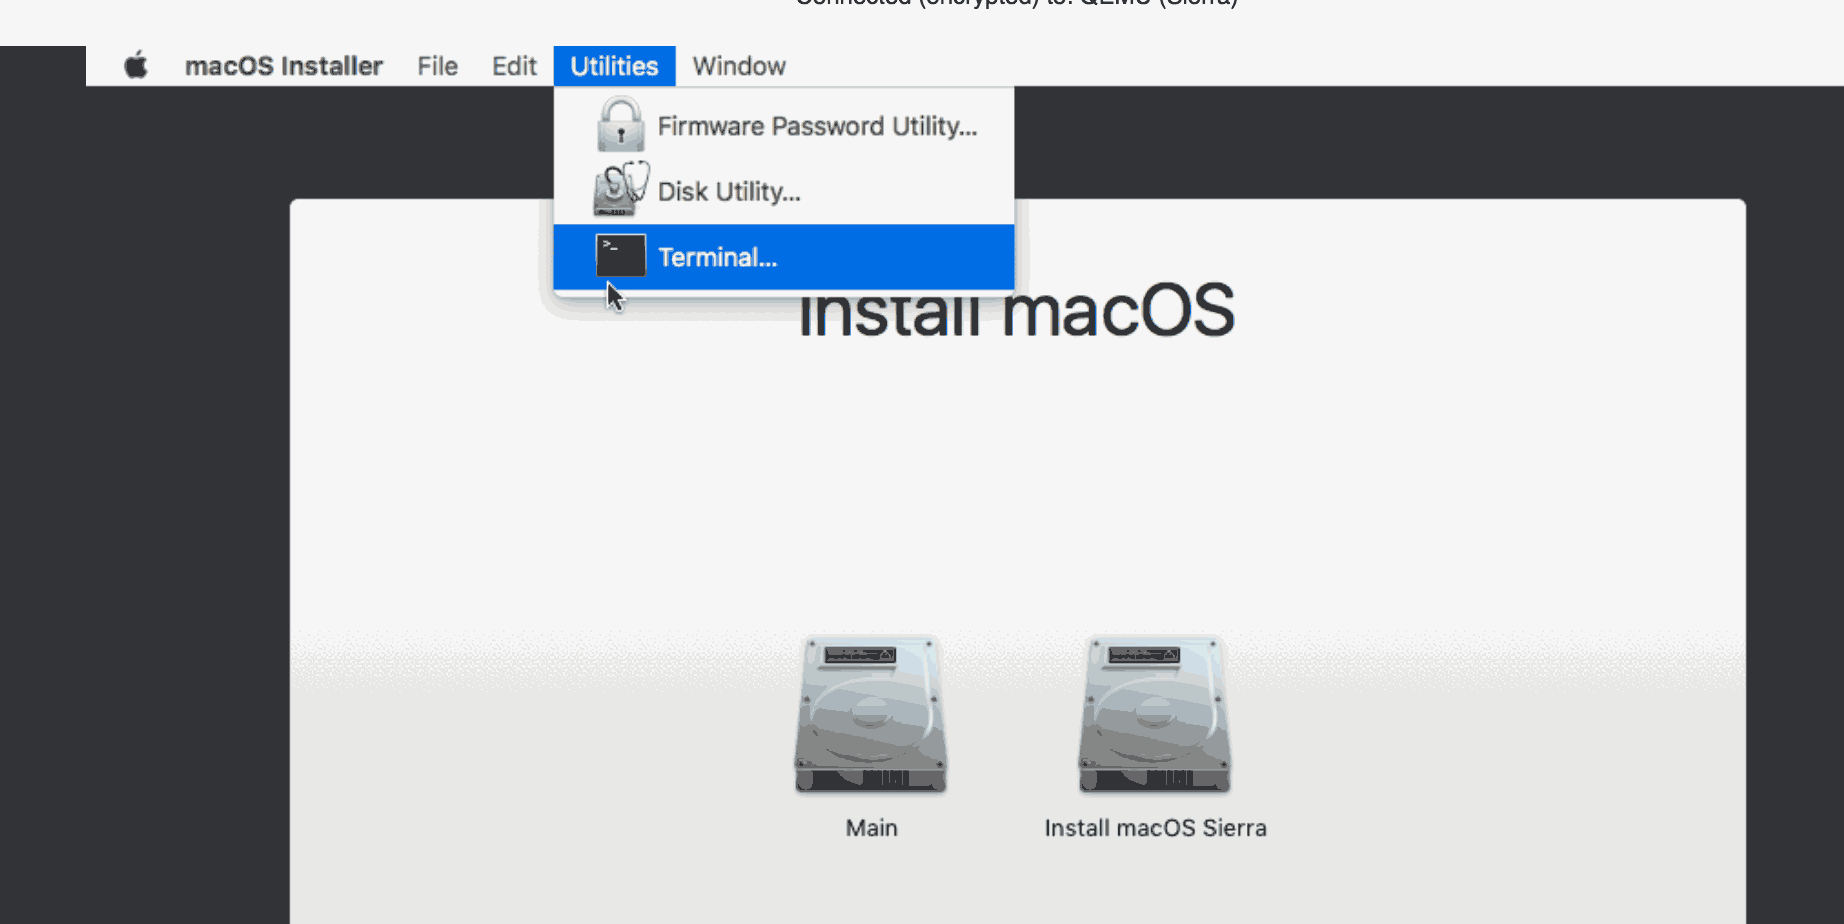
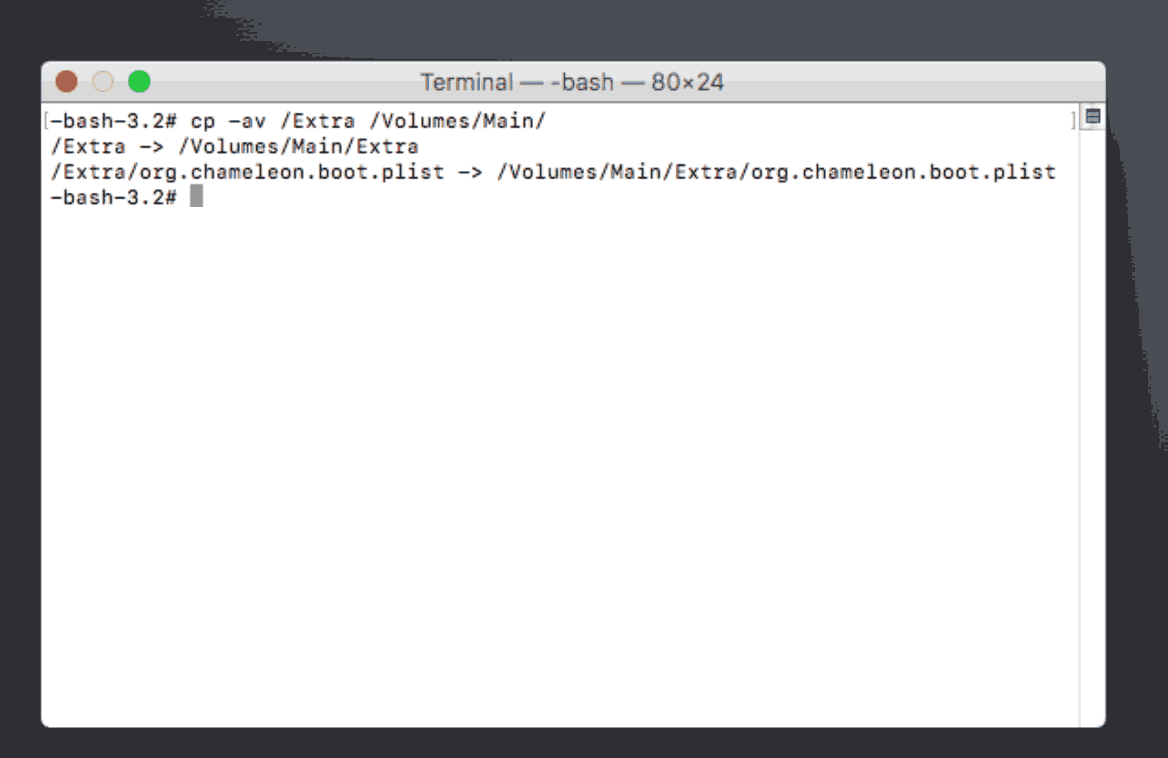
Before we start installation, we have some files to copy over to the newly-formatted drive. Choose Utilities -> Terminal, and copy the /Extras directory to your main volume (/Volumes/Main, for example) using “cp -av /Extra /Volumes/Main/” like so:
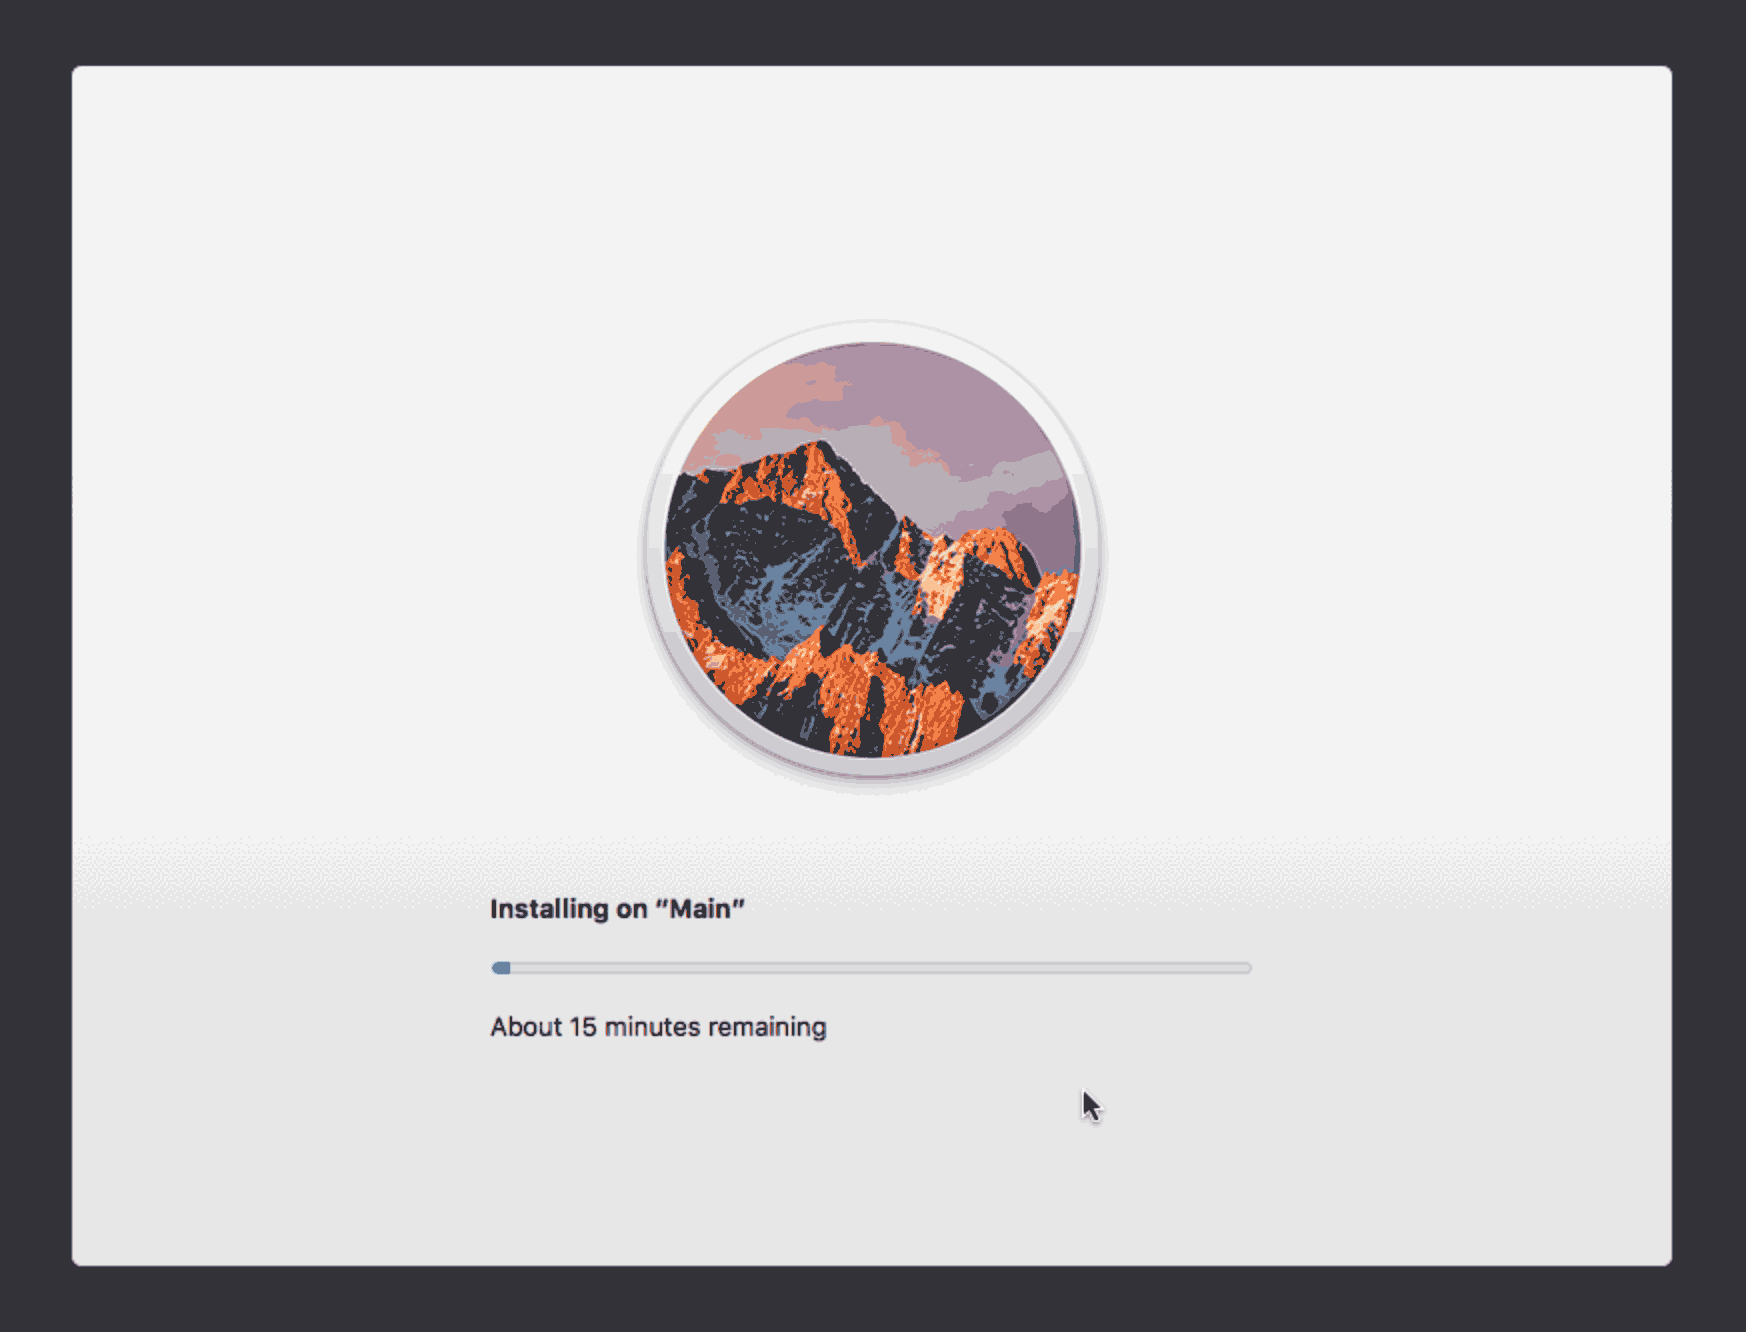
Quit terminal. Now you can begin installation to the Main drive.
After the first stage of installation, the VM should reboot itself and continue installation by booting from the hard drive. After answering the initial install questions, you’re ready to go!
Sleep management
I found that I was unable to wake Sierra from sleep using my mouse or keyboard. You can either disable system sleep in Sierra’s Energy Saver settings to avoid this, or you can manually wake the VM up from sleep from Proxmox by running:
qm monitor YOUR-VM-ID-HERE
system_wakeup
quit
USB passthrough
Using noVNC gets pretty annoying due to the Mac’s absence of tablet support for absolute cursor positioning. You can solve this by turning on the Mac’s screen sharing feature and using that instead. But I want to use this as my primary computer, so I’m using USB input devices plugged directly into Proxmox.
Proxmox has good documentation for USB passthrough. Basically, run “qm monitor YOUR-VM-ID-HERE”, then “info usbhost” to get a list of the USB devices connected to Proxmox:
qm> info usbhost
 Bus 3, Addr 12, Port 6, Speed 480 Mb/s
 Class 00: USB device 8564:1000, Mass Storage Device
 Bus 3, Addr 11, Port 5.4, Speed 12 Mb/s
 Class 00: USB device 04d9:0141, USB Keyboard
 Bus 3, Addr 10, Port 5.1.2, Speed 12 Mb/s
 Class 00: USB device 046d:c52b, USB Receiver
 Bus 3, Addr 9, Port 14.4, Speed 12 Mb/s
 Class 00: USB device 046d:c227, G15 GamePanel LCD
 Bus 3, Addr 8, Port 14.1, Speed 1.5 Mb/s
 Class 00: USB device 046d:c226, G15 Gaming Keyboard
 Bus 3, Addr 6, Port 11, Speed 12 Mb/s
 Class e0: USB device 0b05:17d0,
 Bus 3, Addr 2, Port 1, Speed 1.5 Mb/s
 Class 00: USB device 068e:00f2, CH PRO PEDALS USB
In this case I can add my keyboard and mouse to USB passthrough by quitting qm, then running:
qm set YOUR-VM-ID-HERE -usb1 host=04d9:0141
qm set YOUR-VM-ID-HERE -usb2 host=046d:c52b
This saves the devices to the VM configuration for you. It’s possible to hot-add USB devices, but I just rebooted my VM to have the new settings apply.
PCIe GPU passthrough
For native graphics performance, I wanted to pass through my graphics card for the macOS VM’s exclusive use (driving a monitor connected to Proxmox). Follow the instructions from the Proxmox manual. Use the “GPU Seabios PCI EXPRESS PASSTHROUGH” section for this installation.
Note that your CPU and motherboard need to support VT-d (be sure to enable it in your BIOS as it’s often disabled by default), and your CPU needs to support IOMMU interrupt remapping.
After following the instructions to blacklist video drivers in the Proxmox manual, I found I had to run “update-initramfs -u” in order for the blacklist to be applied.
Check that your graphics card has been reserved correctly by running “lspci -k” on Proxmox and checking which driver is assigned to the graphics card (if done correctly, it should be “vfio-pci”).
After following through all the steps in that guide, I ended up with a new “hostpci0: 01:00,pcie=1,x-vga=on” line in my VM’s configuration, and after a reboot of Proxmox, my graphics card (Radeon R9 280X) was working! Only some cards are natively supported by macOS, check out the tonymacx86 Radeon compatibility list for your card. I also found a list of supported Nvidia cards (some using Nvidia’s Web Driver).
I have had success passing through my EVGA GeForce GTX 750Ti SC 2G, driving a 4K screen over DisplayPort and another display over HDMI. This required me to use Clover/UEFI boot, install the NVidia web drivers, and update my SMBIOS to “iMac 14,2” and enable “NvidiaWeb” in Clover Configurator.