My macOS Monterey / Proxmox setup

I thought it might be helpful for people following my guide for installing macOS 12 Monterey on Proxmox if I described my setup and how I’m using macOS.

Proxmox hardware specs

  • Motherboard: Asrock EP2C602
  • RAM: 64GB
  • CPU: 2 x Intel E5-2687W v2 for a total of 16 cores / 32 threads
  • Storage
    • ASUS Hyper M.2 X16 PCIe 4.0 X4 Expansion Card
      • Samsung 970 Evo 1TB NVMe SSD for macOS
      • Samsung 950 Pro 512GB NVMe SSD
    • 38TB of spinning disks in various ZFS configurations
    • 1TB SATA SSD for Proxmox’s root device
  • Graphics
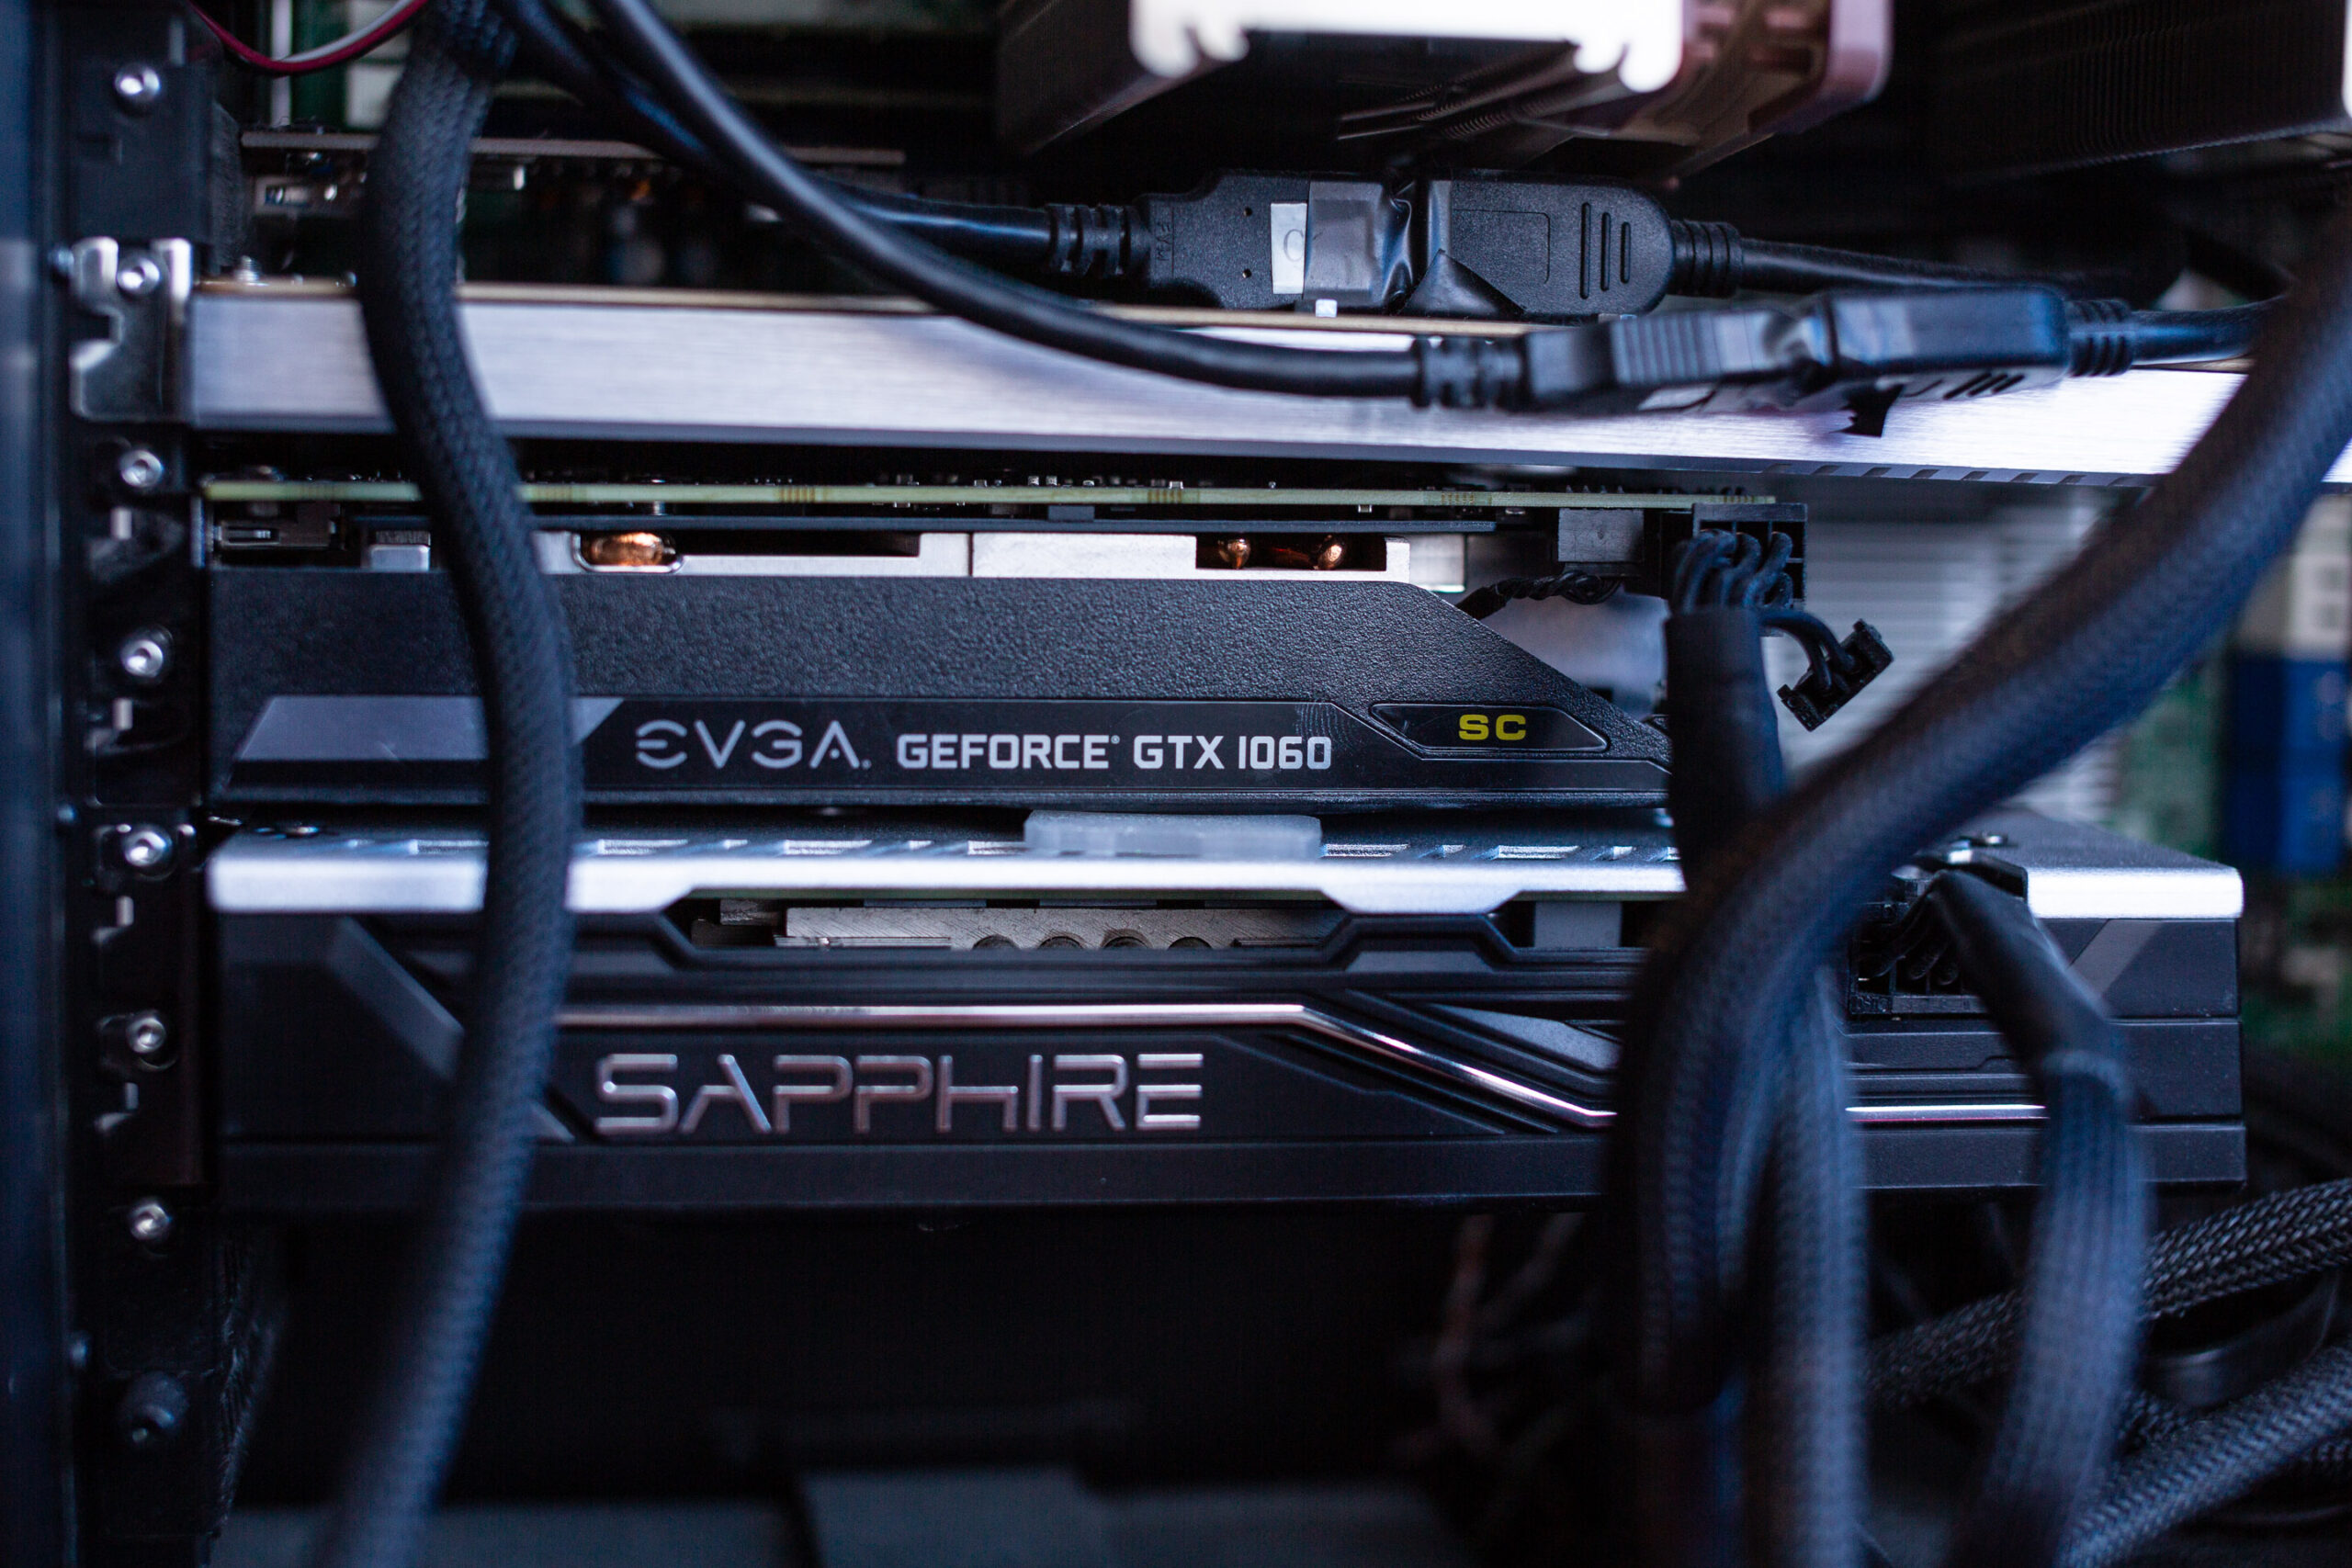
    • EVGA GeForce GTX 1060 6GB
    • AMD Radeon R9 280X (HD 7970 / Tahiti XTL) (not currently installed)
    • AMD Sapphire Radeon RX 580 Pulse 8GB (11265-05-20G)
  • IO
    • 2x onboard Intel C600 USB 2 controllers
    • Inateck USB 3 PCIe card (Fresco Logic FL1100 chipset)
    • 2x onboard Intel 82574L gigabit network ports
  • Case
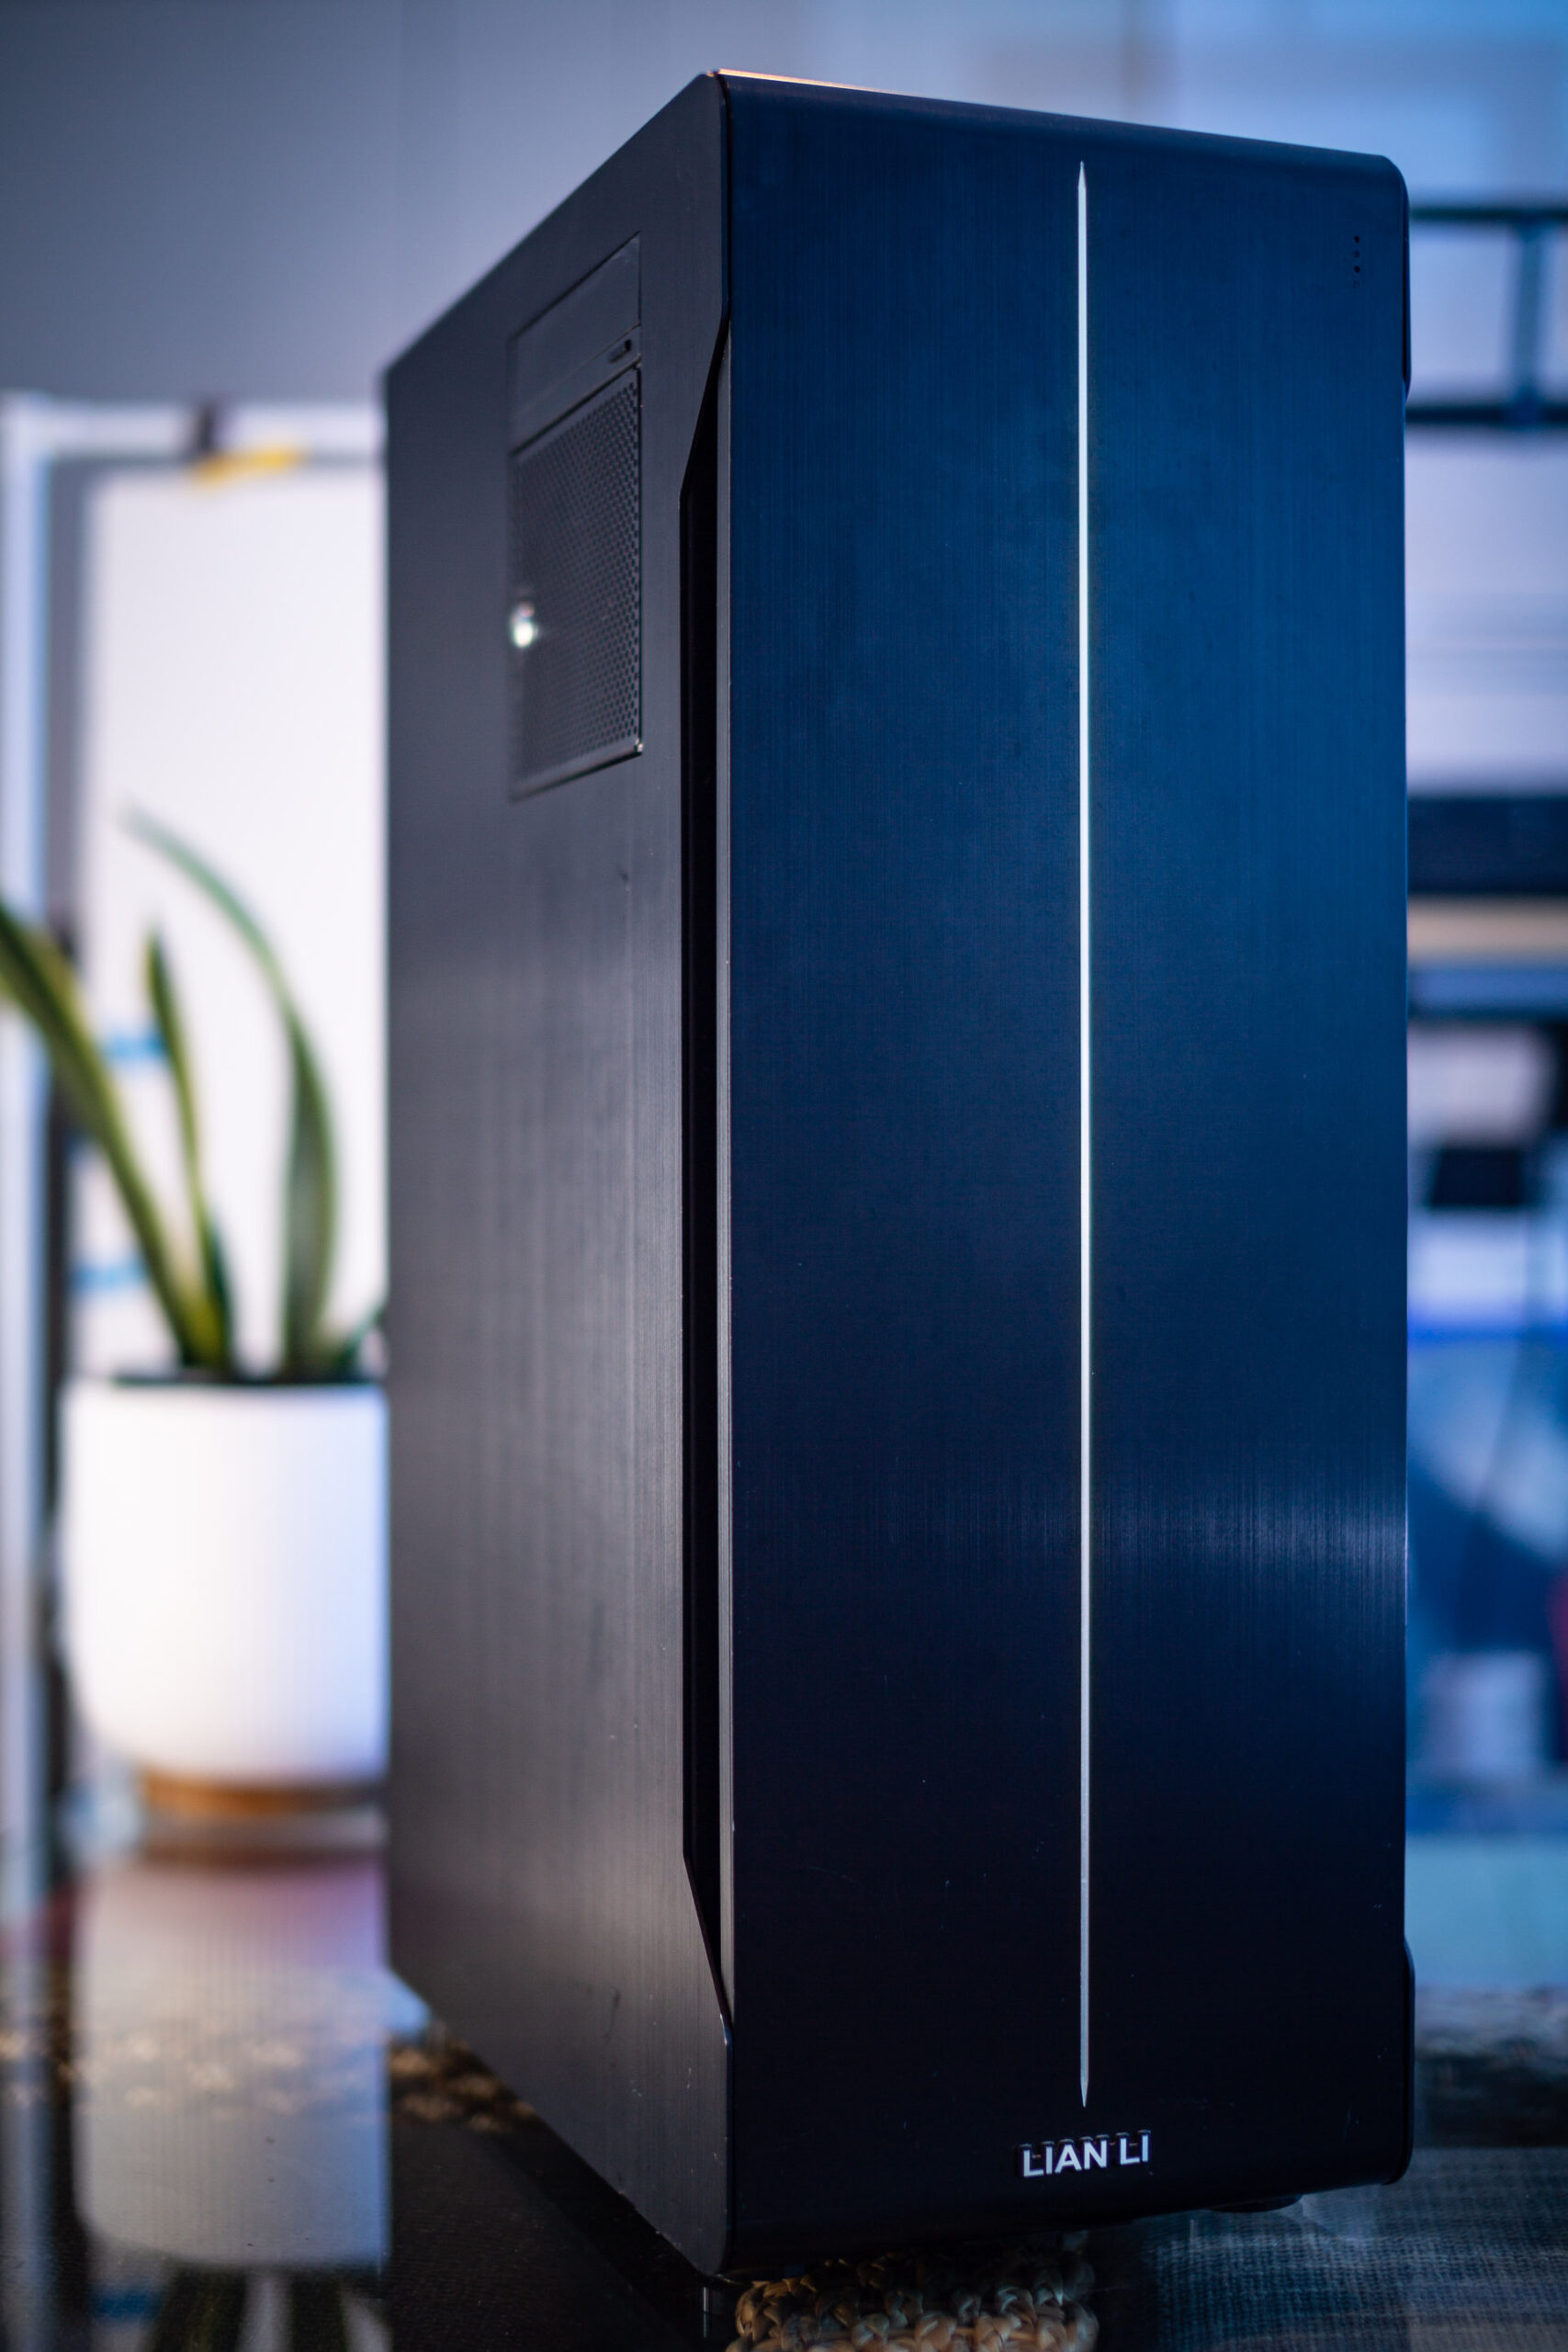
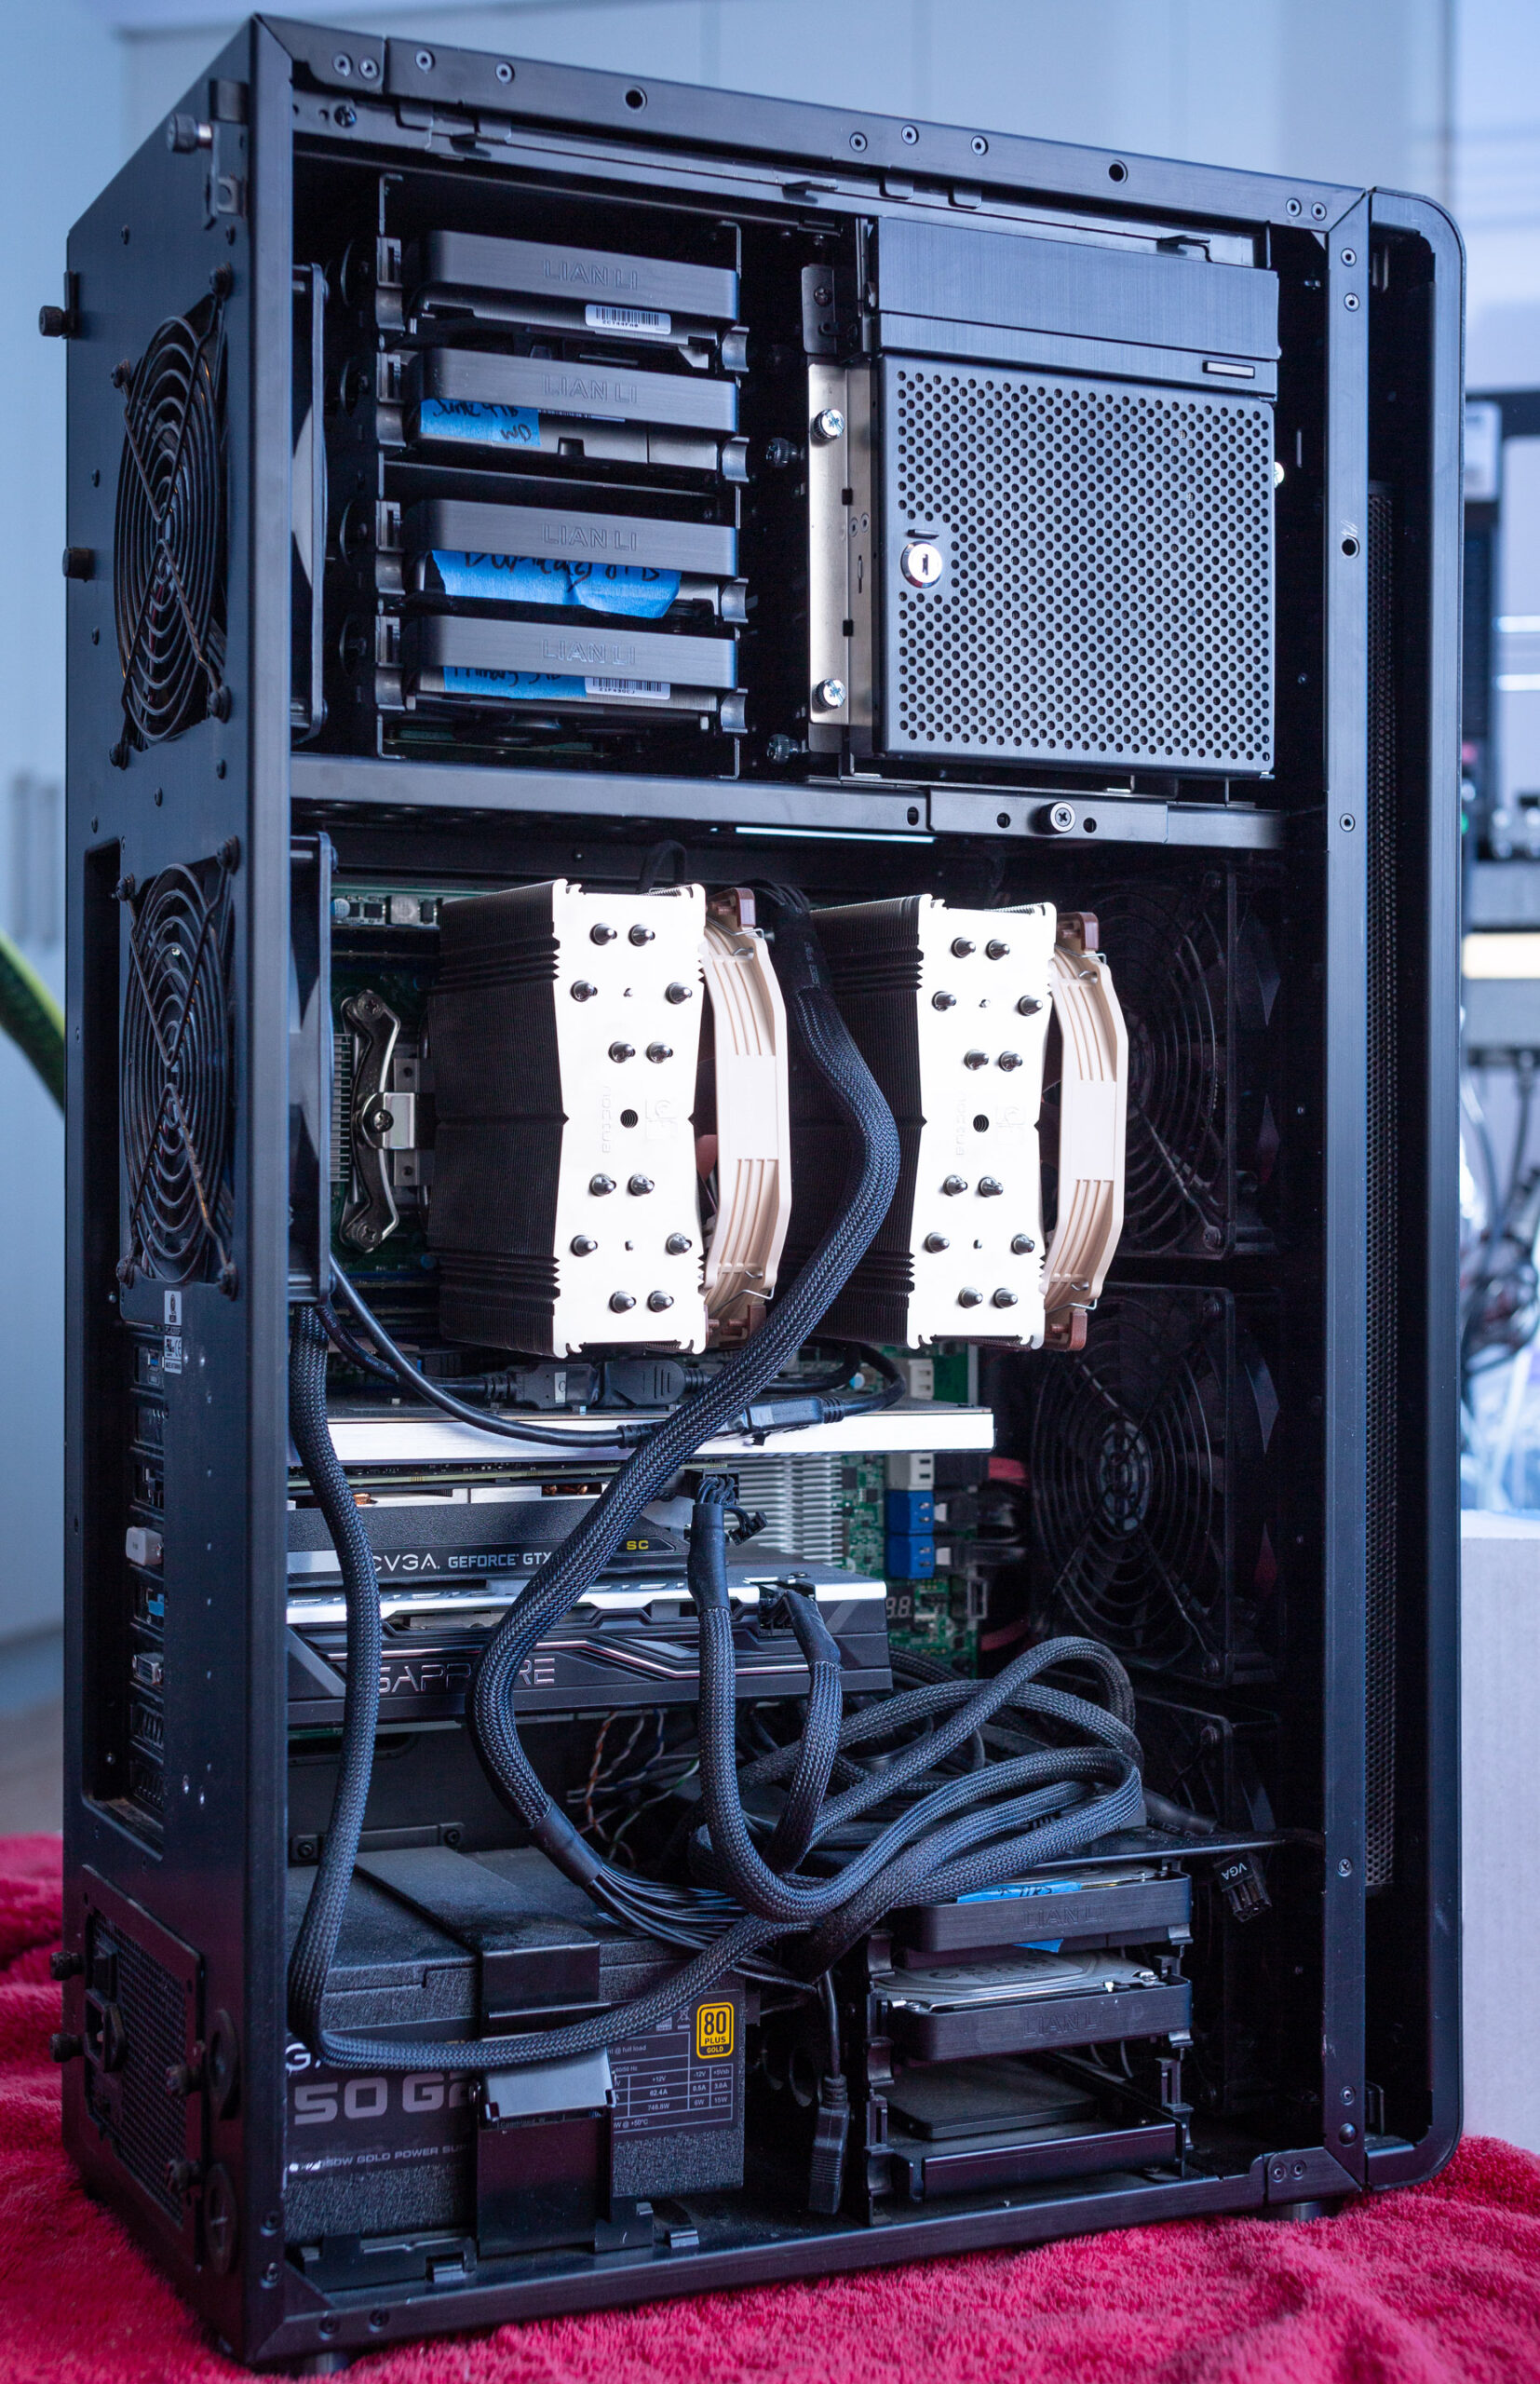
    • Lian Li PC-X2000F full tower (sadly, long discontinued!)
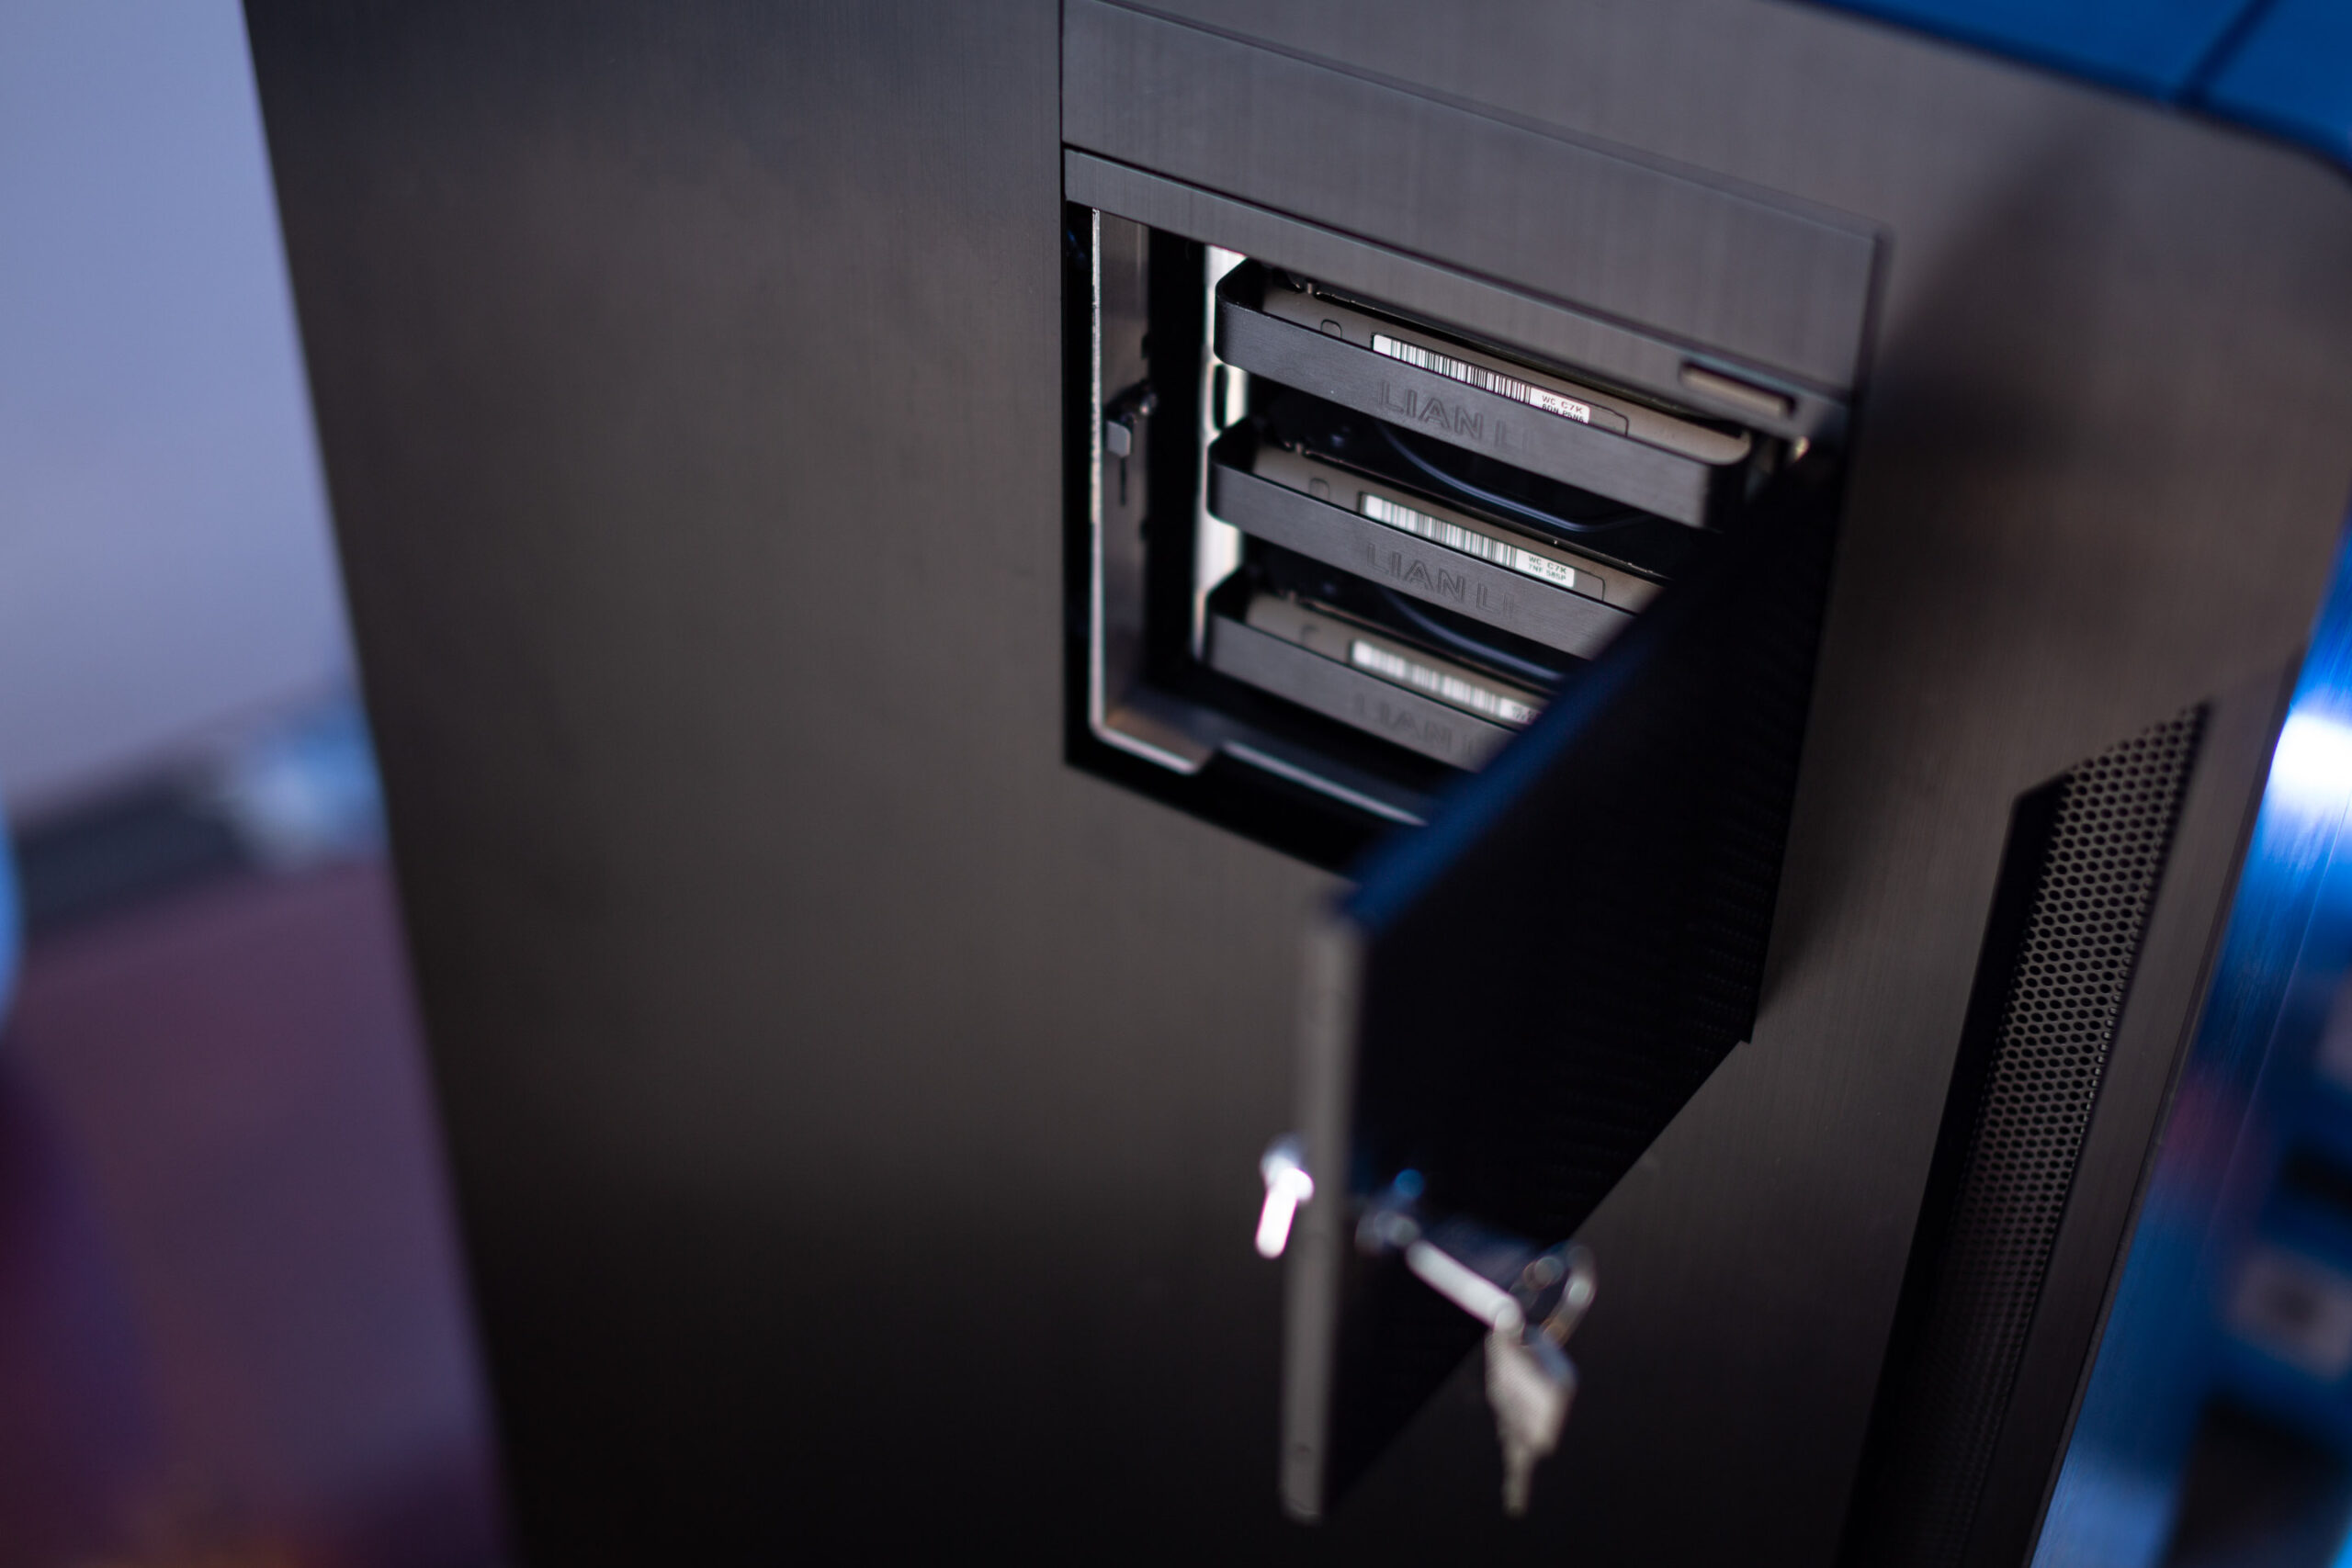
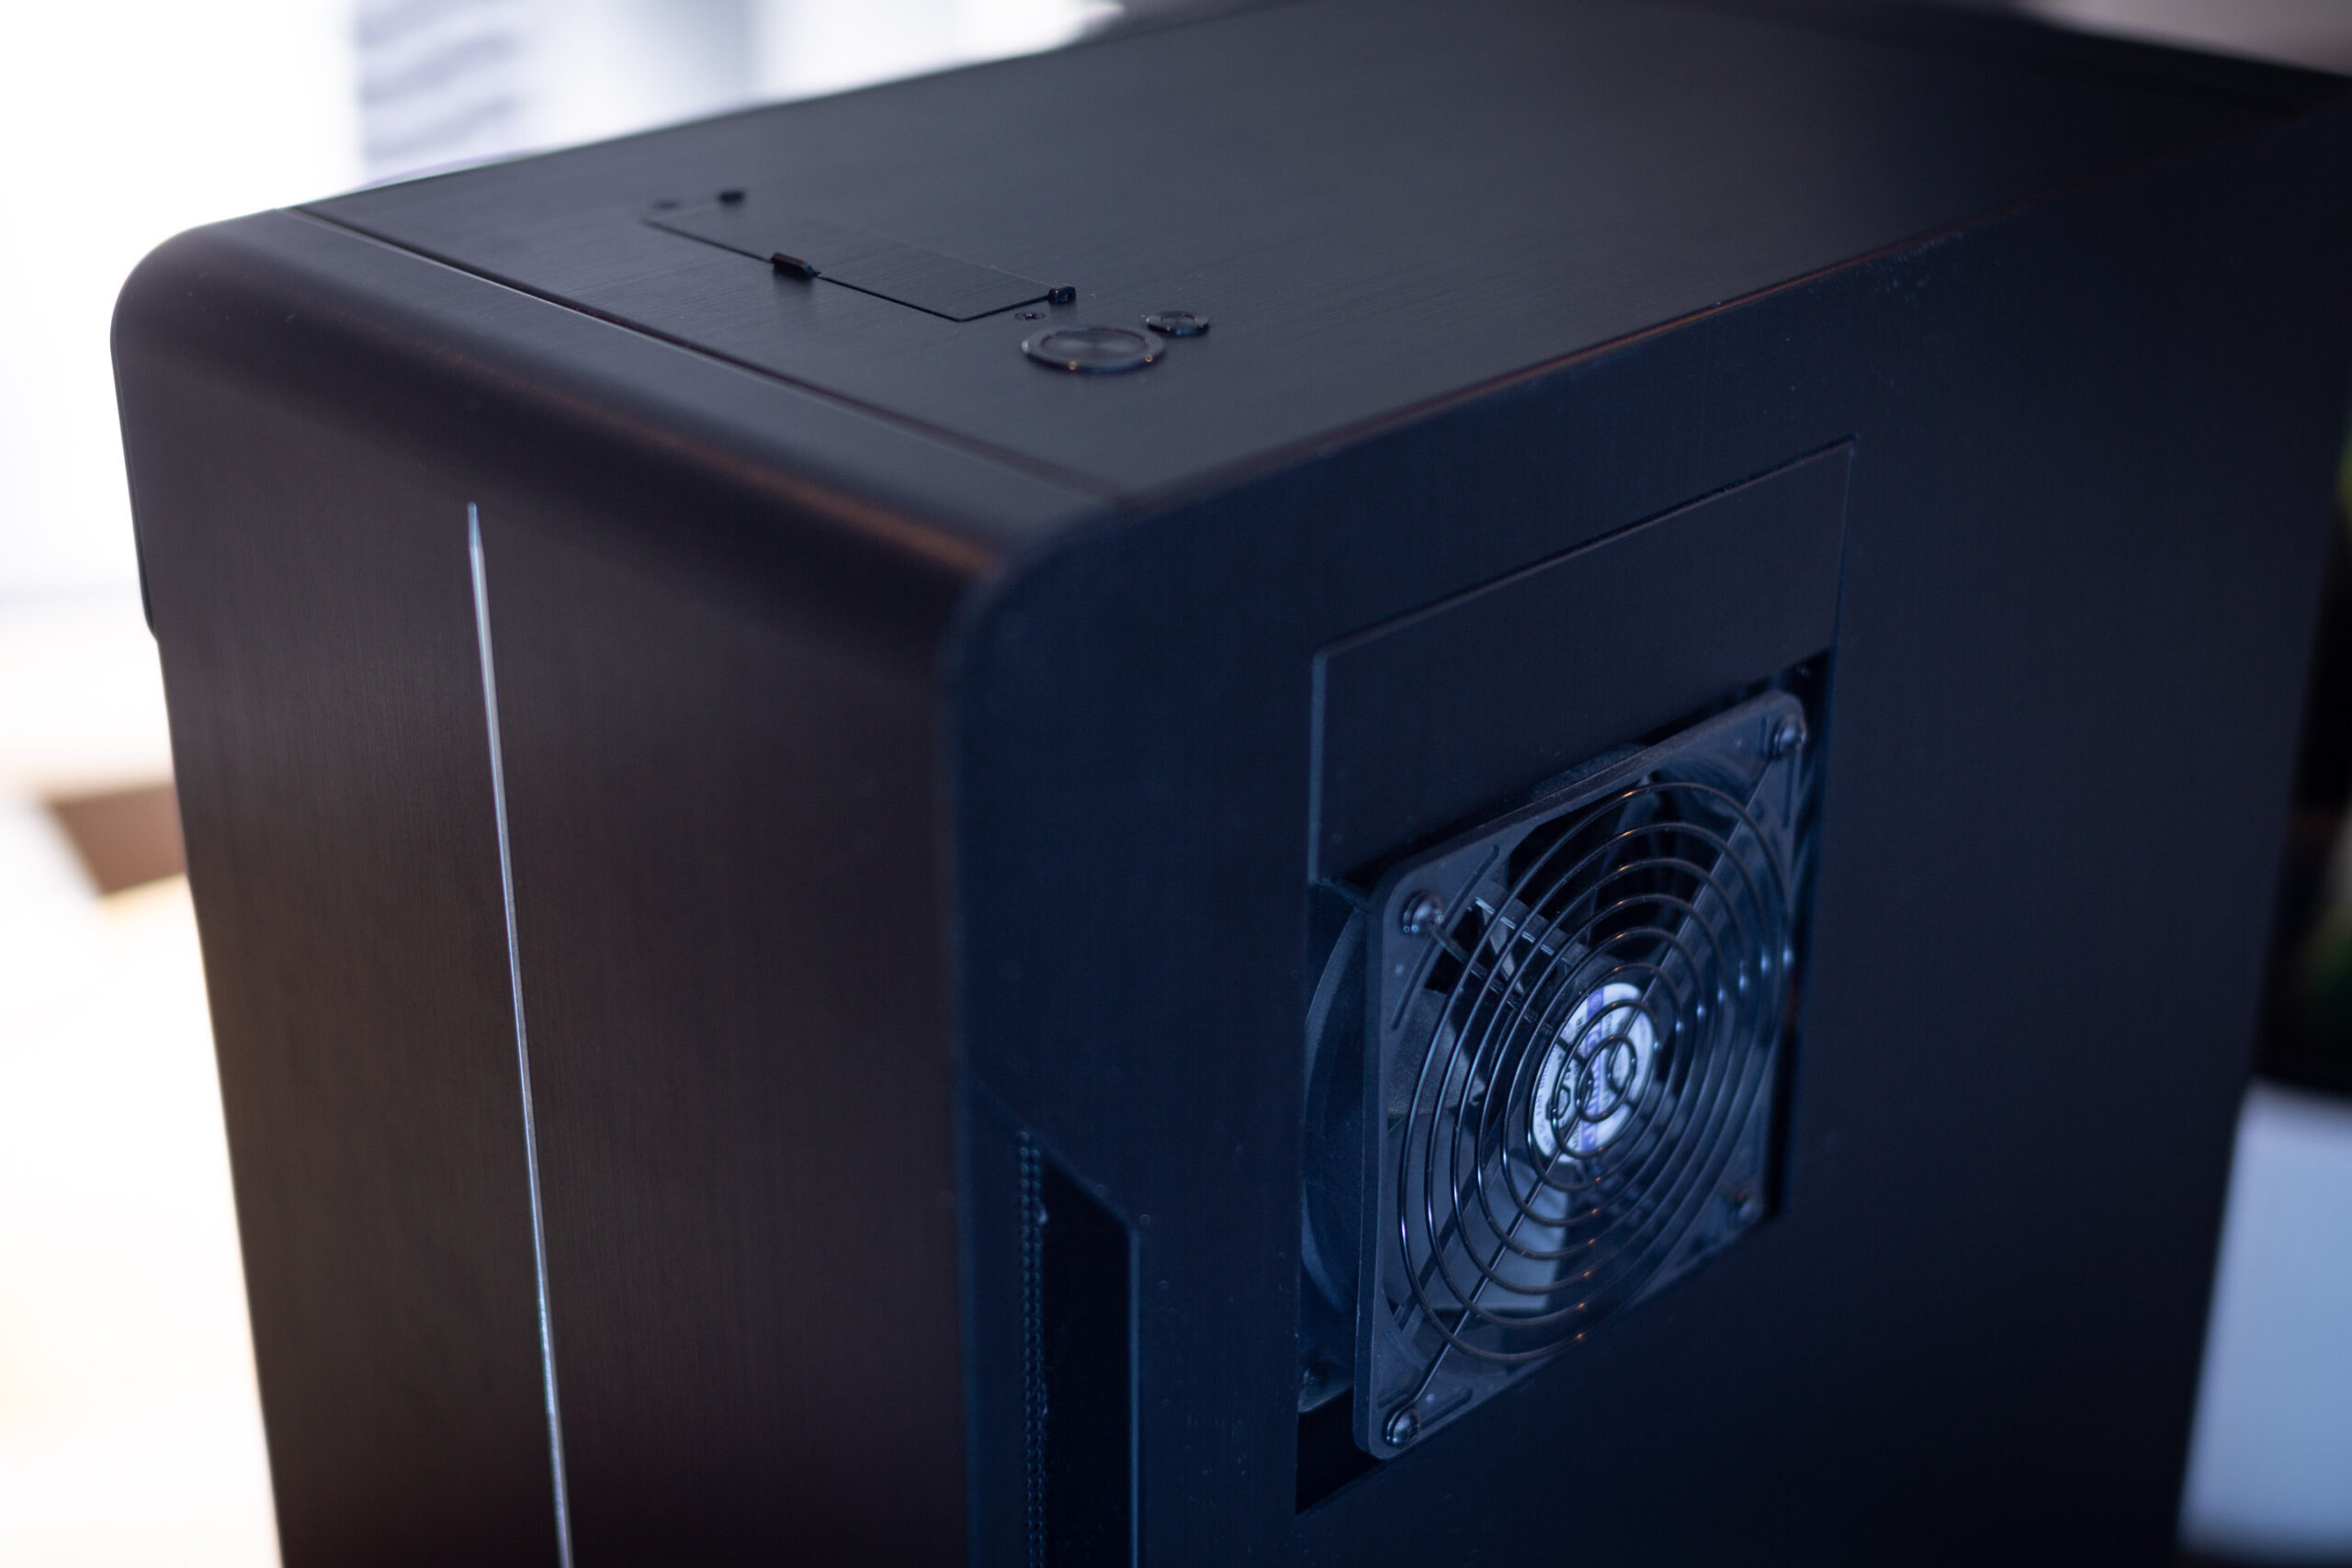
    • Lian Li EX-H35 HDD Hot Swap Module (to add 3 x 3.5″ drive bays into 3 of the 4 x 5.25″ drive mounts), with Lian Li BZ-503B filter door, and Lian Li BP3SATA hot swap backplane. Note that because of the sideways-mounted 5.25″ design on this case, the door will fit flush with the left side of the case, while the unfiltered exhaust fan sits some 5-10mm proud of the right side of the case.
  • CPU cooler
    • 2 x Noctua NH-U14S coolers
  • Power
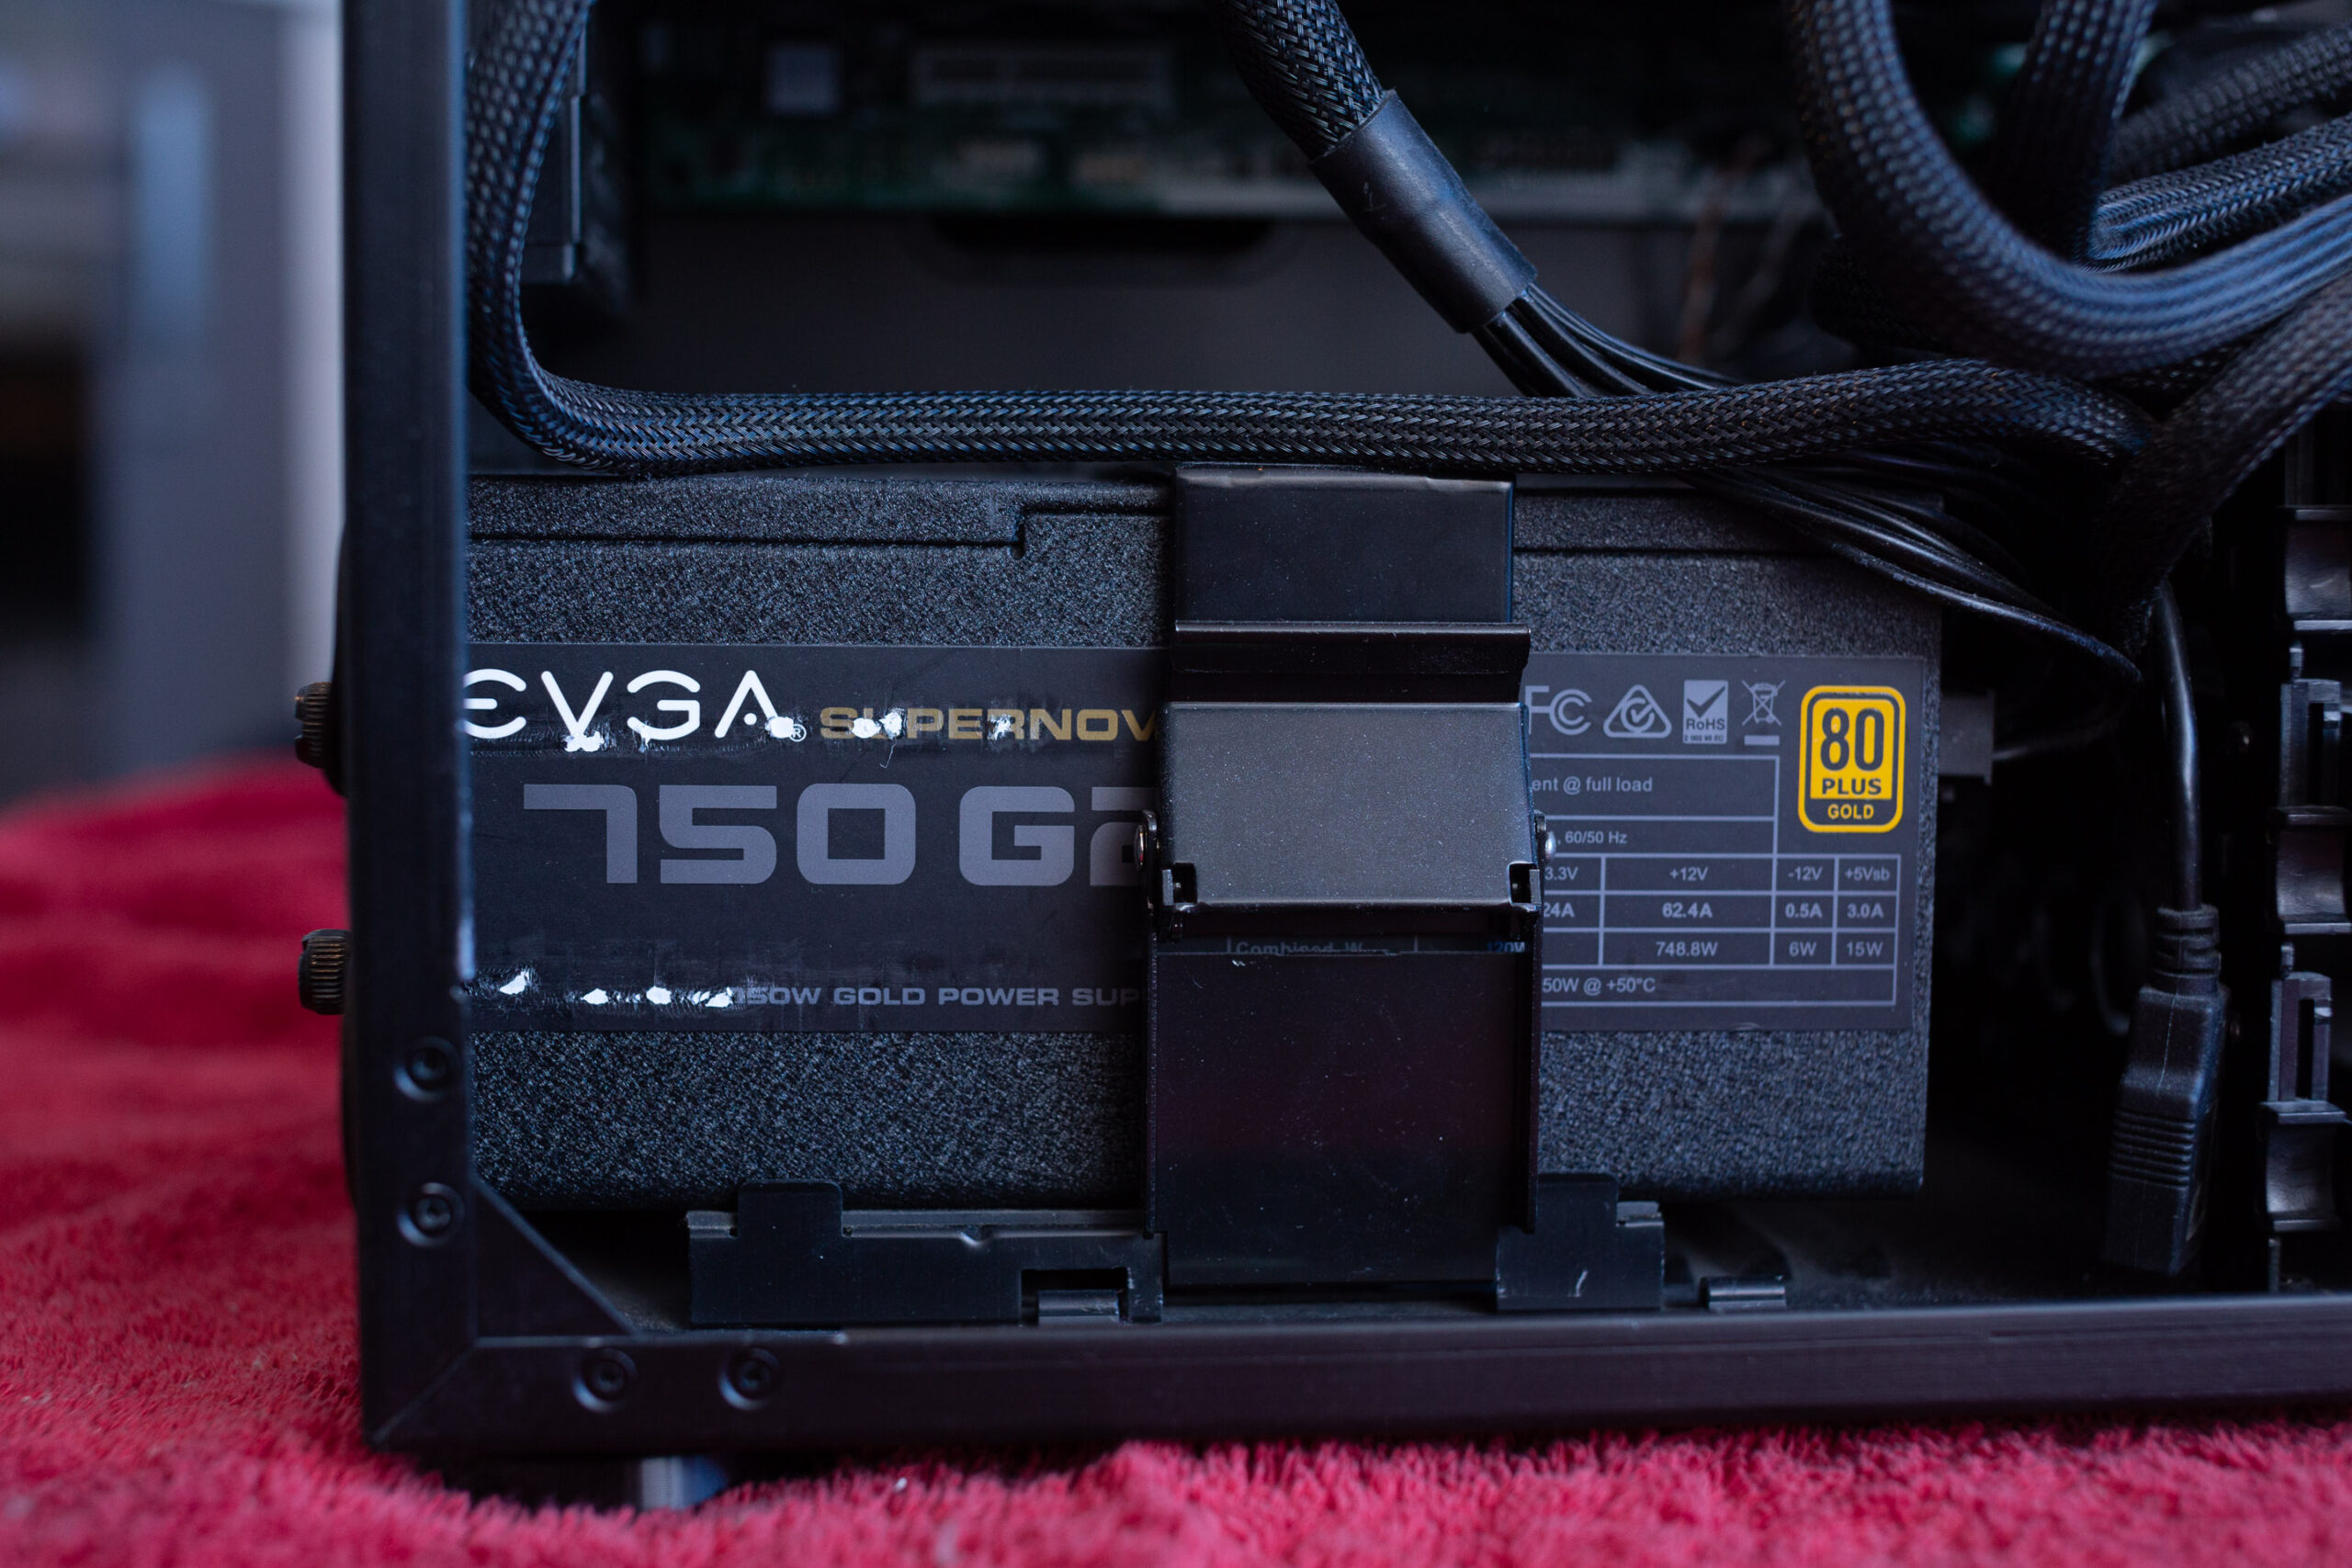
    • EVGA SuperNOVA 750 G2 750W

My Proxmox machine is my desktop computer, so I pass most of this hardware straight through to the macOS Monterey VM that I use as my daily-driver machine. I pass through both USB 2 controllers, the USB 3 controller, an NVMe SSD, and one of the gigabit network ports, plus the RX 580 graphics card.

Continue reading My macOS Monterey / Proxmox setup

Installing macOS Mojave 10.14 on Proxmox 5.4

With the release of macOS Catalina 10.15, this tutorial is now obsolete! Please check out the new Catalina tutorial here.

This tutorial for installing macOS Mojave has been adapted for Proxmox 5.4 from Kholia’s GitHub project for installing into vanilla KVM. There is more documentation there which will help out with enabling extra features and diagnosing problems!

Requirements

I’ll assume you already have Proxmox 5.4 installed. You also need a real Mac available in order to fetch the OSK key.

Your Proxmox host computer’s CPU must support SSE 4.2, so for Intel your CPU must be at least as new as Nehalem, which was the first CPU generation to bear the “Core” i5/i7 branding. Older CPUs will cause the finder to repeatedly crash after installation completes (with an Illegal Instruction exception in the graphics code).

Apparently modern AMD CPUs also support SSE 4.2 and can be used with this guide without any modification (maybe Bulldozer and certainly Ryzen), but I haven’t tested this myself.

Continue reading Installing macOS Mojave 10.14 on Proxmox 5.4

Patch OVMF to support macOS in Proxmox 5 and 6

Proxmox 5 and 6’s version of the OVMF firmware includes two commits (2ac1730 and 147fd35) that are intended to mark the pagetables as read-only during startup. This was first seen in Proxmox 5.1. This conflicts with the OsxAptioFixDrv drivers in Clover, which expect to be able to modify the pagetables to remap memory:

https://sourceforge.net/p/cloverefiboot/tickets/439/

I’ve patched OVMF to revert the effect of these two commits, which allows macOS to boot again (I also tested it by booting Windows 10, which worked fine). If you just want to download the fixed .deb, skip to the end of the article, otherwise if you want to build it yourself, follow along with the instructions in the next section:

Continue reading Patch OVMF to support macOS in Proxmox 5 and 6

Installing macOS High Sierra on Proxmox 5

With the final release of Mojave, this tutorial is now out of date, see the new tutorial for installing Mojave instead!

This tutorial for installing macOS Sierra has been adapted for Proxmox 5 from Kholia’s GitHub project for installing into vanilla KVM. There is more documentation there which will help out with enabling extra features and diagnosing problems!

Requirements

I’ll assume you already have Proxmox 5.1 installed. You also need a real Mac available in order to download High Sierra from the App Store and build the installation ISO. Your Proxmox host computer must have an Intel CPU at least as new as Penryn (I believe you would need a a custom Mac kernel in order to use an AMD CPU). Continue reading Installing macOS High Sierra on Proxmox 5

Passthrough of advanced CPU features for macOS [High] Sierra guests

When emulating macOS on Proxmox, it seems that we are forced to set the guest’s CPU type to “Penryn”. This is a very old architecture, and is missing some features that could unlock higher CPU performance. In particular, I wanted to use AVX (for accelerated stream processing) and AES-NI (for encryption), but macOS panics on boot if I set the CPU to Sandy Bridge, which would match my CPU which includes those features.

Luckily, kholia over at the OSX-KVM project has discovered that we can keep using Penryn, but enable the passthrough of individual advanced CPU features and have Sierra use them, even though Penryn never supported these features.

Continue reading Passthrough of advanced CPU features for macOS [High] Sierra guests

Upgrading a Proxmox 5 macOS Sierra guest to High Sierra

macOS 10.13 High Sierra has finally been released, and the good news is that it works with Proxmox 5!

Here’s how I upgraded my Proxmox 5 Sierra installation, which has been previously updated to use Clover/UEFI boot and is stored on a passthrough NVMe SSD. Your setup may differ and your upgrade steps may need to change. I doubt these instructions would work for enoch/chameleon boot.

Take a snapshot of Sierra

I cannot stress this enough! If your filesystem gets completely trashed by the installer, you really need to be able to roll it back to a snapshot!

Continue reading Upgrading a Proxmox 5 macOS Sierra guest to High Sierra

Emulating MIPS guests in Proxmox 5

I wanted to emulate MIPS guests on my Proxmox hypervisor so that I could do some security research on router firmware. Unfortunately, Proxmox has customised some of the QEMU packages and their dependencies, which makes it difficult to install the standard Debian qemu-system-mips package. In particular, Proxmox provides its own pve-libspice-server1 package which conflicts with the libspice-server1 package that vanilla QEMU depends on, so attempting to install it will complain:

Some packages could not be installed.

The following packages have unmet dependencies:
 qemu-system-mips : Depends: libspice-server1 (>= 0.12.5)

To solve this, we need to build a modified version of the package from source.

Continue reading Emulating MIPS guests in Proxmox 5

Passthrough more than 4 PCIe devices to Proxmox 4 and 5 guests

Update: Proxmox 6 now has built-in support for this! If you’re getting “Duplicate ID ‘ich9-pcie-port-5’ for device”, be sure to remove any additions you’ve made to /usr/share/qemu-server/pve-q35-4.0.cfg

By default in Proxmox 4.4 and 5, you are unable to pass through more than 4 PCIe devices to the guest. If you try, you’ll get an error when attempting to start the VM which reads:

vm 100 - unable to parse value of 'hostpci4' - unknown setting 'hostpci4'

Passed-through PCIe devices are attached to the four ports called “ich9-pcie-port-{1,2,3,4}” which are defined in /usr/share/qemu-server/pve-q35.cfg. These ports occupy PCIe function numbers 0-3, leaving function numbers 4-7 unused.

It’s a simple matter to add definitions for an extra 4 ports to use up those spare function numbers in /usr/share/qemu-server/pve-q35.cfg (Proxmox 4 and 5): Continue reading Passthrough more than 4 PCIe devices to Proxmox 4 and 5 guests

Fix for macOS [High] Sierra 10.12.4+ “don’t steal mac OS” error on boot on Proxmox 4

In Sierra 10.12.4, macOS added some extra copy protection which is able to tell that the SMC emulation that QEMU provides is not a real Mac. This causes a fatal error during boot on Proxmox 4 and earlier. Proxmox 5.1 now includes the fix for this problem in its regular QEMU package so a patch for 5.1 is no longer necessary.

One way of fixing this would be to remove the SMC device from the virtual machine’s arguments, and use FakeSMC.kext instead, like a regular Hackintosh, but this is inelegant.

Instead, we can patch QEMU to fix the SMC support, using the fixes from here: Continue reading Fix for macOS [High] Sierra 10.12.4+ “don’t steal mac OS” error on boot on Proxmox 4

Accelerate IO for macOS Sierra Proxmox guests by passing through an NVMe SSD

Recently I migrated my MacBook Pro into a Proxmox virtual machine to use as my daily-driver. This made for a rather large stepdown in IO performance, since my MacBook used an SSD, and Proxmox was using a RAIDZ1 array of spinning disks. On top of the IOPS penalty for spinning disks, there are currently no macOS drivers for the virtio SCSI paravirtual device, so we have to use IDE/SATA emulation instead, which is very slow (although this may change in the near future).

One way to improve things would be to use PCIe passthrough to pass through a whole physical SATA controller to the guest. This would eliminate almost all of the performance penalty of the virtualised SATA controller. But there’s a new option for drive passthrough: NVMe SSDs.

NVMe is a new standard for operating systems to communicate with a disk controller, which has been specifically designed to extract the most speed possible from SSDs. NVMe SSDs are PCIe devices (typically x4), so we can pass them straight through to macOS. I’m using the Samsung 950 Pro. You might also consider the faster 960 Pro.

The only missing piece of the puzzle is NVMe support in macOS Sierra. Thankfully, modern macs have begun shipping with NVMe SSDs inside, so we have an official Apple driver we can use. It just needs to be patched to accept our SSDs.

Note that in High Sierra, the built-in NVMe driver already supports most SSDs, and we don’t have to mess with it any more! Continue reading Accelerate IO for macOS Sierra Proxmox guests by passing through an NVMe SSD